September 24th, 2007
Fab Floor
Well the first project for Operation Decoration (our new lobby floor) is done and it turned out FABULOUS! Not without some issues and necessary adjustments midstream, but that’s what decorative finishing and decorative concrete are all about-problem solving!
The incredible Bob Harris, with his equally incredible lady Lee Anne and right hand man Mark came in to teach a class of 18 people who got to see the process and work a bit on the floor. The design concept was scattered, layered tiles over an acid stained floor that would be done using three different techniques.

Here is my very helpful friend Jackie putting the finishing touches on getting the Modello ready on the floor. This was our largest tile! One of the students is shown using an integrally colored overlay to thinly trowel over the surface to create a slightly raised image.

After drying, we hit the floor en masse to remove the Modello patterns so we could continue on with the next “layers” of tiles. The next series was airbrushed using thin layers of solvent dyes. We let Bob handle this part!

I was too busy doing the etching on the last series of tiles to think about pictures but the lighter tiles you see were accomplished by using a gelled acid through the Modellos to remove the stain from the surface. As we were going for a distressed, antiquated look we just left the acid on the surface for a few minutes.

This was actually a huge project that was completed in 2 1/2 days. I can’t give enough credit to Bob (thanks for being so flexible!!!), LeeAnne, Mark, Jackie, John and the rest of the students who got their hands in on this amazing floor project.


Now, I’m off to cover it up with heavy contractor’s paper so nothing happens to it over the next couple of months worth of decorating projects there. Next-the walls!
September 15th, 2007
Ceiling Extravaganza
I recently put the call out for some more customer ceiling photos on the painting message boards. You see, I’ve been honored and invited to participate at the higly anticipated Meeting of the Masters as both an exhibiting “master” and a presenter. Unfortunately, this falls right on the heels of my Italy trip so I will be stopping there ON THE WAY home. Not much time to prepare on the front end either with a million other projects happening simultaneously so I thought it would be just brilliant (and somewhat easy) to simply do a powerpoint presentation on all of the great things our customers have been doing on ceilings with our Modellos. BTW if you watch the video of the last event on the Meeting of the Masters site you get to see me blabbing while I wave my arms around wildly. Note to self: Put hands in pockets next time.
And without further ado, some recently received photos from Rhonda Canales-
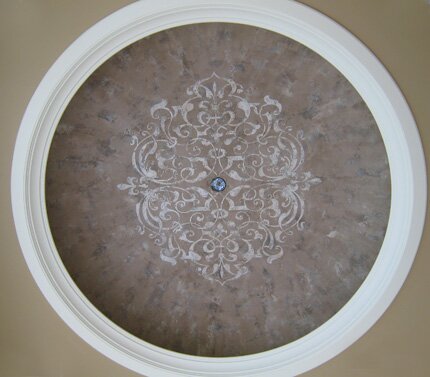
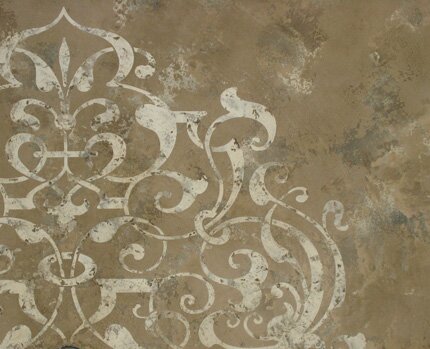
From Kathy Enguita-
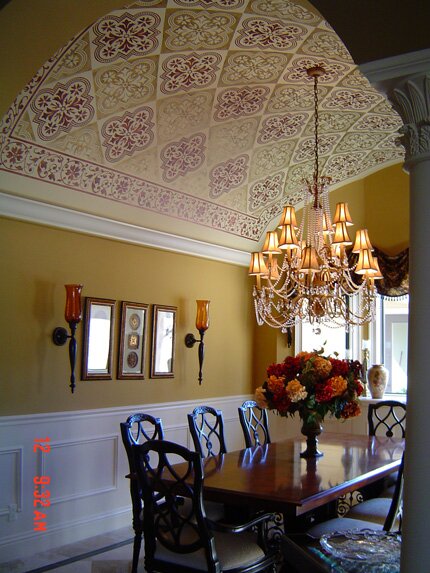
From Julie Worthy-
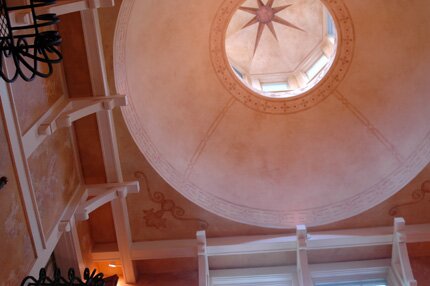
All gorgeous, and let me tell you ceilings are NO piece of cake to decorate. Bravo!
September 14th, 2007
Pretty Petals
I was just quickly playing around with a petal pattern this evening, trying to get something out that’s been rolling around in my head and I’m so tickled I thought I’d quickly share-
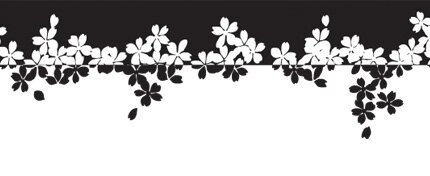
These are the same petal shapes we used in the title bars on this blog, but I layered them up, added a center and trimmed them out in a positive/negative pattern (on the computer). This will get painted in b&w around Lauren’s office ceiling to tie all the black beams together. This is just the beginning of the design for this room. It has lime green maroleum floors (very cool) and is going to be super fun to decorate!
September 12th, 2007
Florence Tile Floor
One of our decorating projects in Florence next month will be to do a large floor area (250 sq. ft) in Alison’s studio with an aged tile treatment that we will accomplish with SkimStone and Modellos. I had shared some of the tile treatments we did in a recent SkimStone class and these four samples build on that idea.
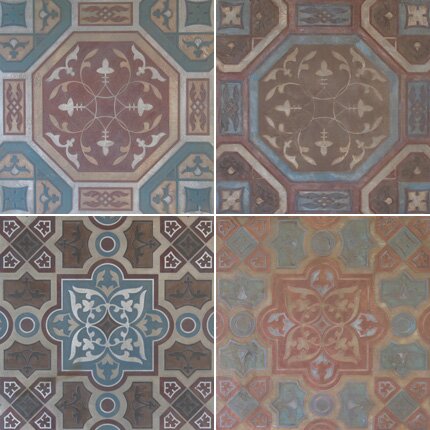
With the exception of altering the blue color slightly these all use the same few colors, but they are layered a little differently. I am always amazed at how many different looks can be achieved with the same pattern, product and colors. The advantage of creating your own “tile” floor, of course, is that you can make it look any way you want. You can’t get that at Home Depot folks!
September 11th, 2007
Grand Damasks
I have been getting unbelievably gorgeous photos from customers lately, showing our stencil and Modello patterns in action. It’s so inspiring for me, and I think you will find them so as well. Here are some from Lauren Gaines. Lauren was a part of the Art of Living project and I can tell you this woman is an incredibly talented and HARD worker. We practically had to pry the trowel out of her hand at the end of the day. She does a lot of work in builder showcase houses in her area and consistently wins awards. No wonder!
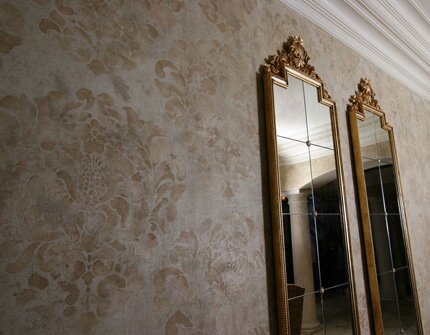
This is the Grand Damask done with metallics on a distressed plaster finish.
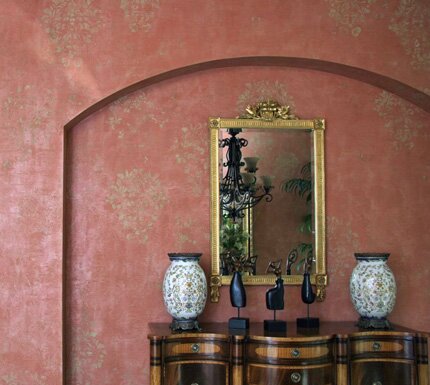
Isn’t this the prettiest color combination? It looks so French. The Fabric Damask is done with a “breakaway” look, achieved by perfectly imperfect troweling.
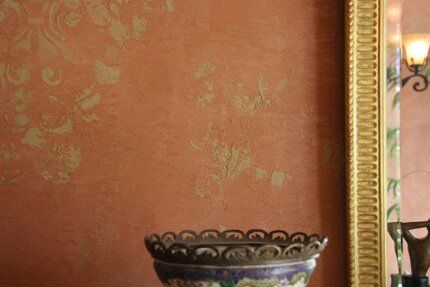
Here is a detail. The background has a really subtle horizontal stria. I love this Lauren!
September 10th, 2007
Pretty Coccio Pesto!
In my La la la Lobby post I shared the inspiration photo for our new lobby walls. After conferring with Linda Self from the School of Italian Plasters, we came up with a cool technique using an Italian lime plaster, Coccio Pesto, that REALLY captures the look. Lucky me, I have even maneuvered Linda into coming here to teach a class on how to actually DO this on a wall-with the help of a small group of students.
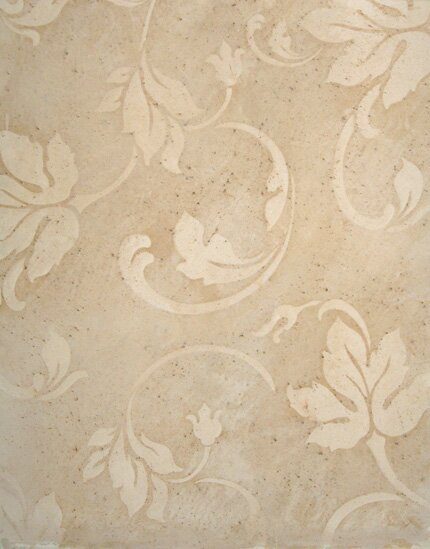
Coccio Pesto contains tiny bits of terra cotta that break apart as the plaster is compressed, imparting a really cool organic look and a slightly peachy color if left untinted. I did this small sample board shown above using a “negative weed” Modello pattern that allows you to create an imbedded design. If you run your hand across the surface it feels smooth and wonderful. Now, working with true lime plasters is an acquired skill and I could never find the time to attend the class. Fortunately for me, Linda and Doyle Self have now created a great series of educational CDs and after watching several (several times) I felt confident enough in my troweling skills to attempt this. Linda will be here the first week in October to guide us through putting a large Acanthus Damask pattern on the walls with this technique, as well as doing walls with some of the other beautiful plasters from the Safra line, including a metallic plaster, Metallo. Oh, my lobby is going to be fabulous!!
September 9th, 2007
Bob Harris in the House
I am beyond thrilled that we are finally beginning the decorative phase on the new building. We actually begin troweling a decorative finish in one of the offices tomorrow! Even better, next week we have Bob Harris, decorative concrete master, coming in to teach a class that will be decorating our large lobby floor with Colormaker’s concrete system of overlays, stains and dyes.
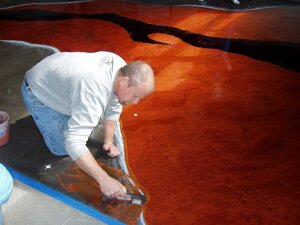
Bob and his team from the Decorative Concrete Institute are super people and super knowledgeable, so I know that it will be in good hands. Troweling concrete IS something that I have done, and really have no desire to do again, LOL. I DO like to design though and think that I have come up with a pretty cool idea.
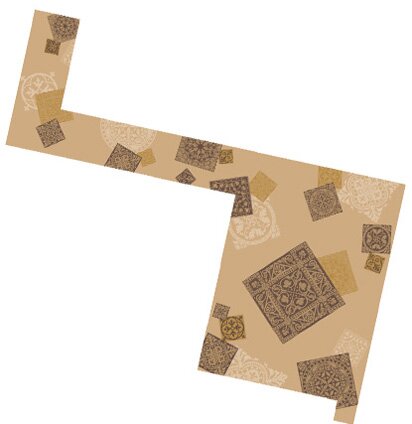
The lobby will be done in what I am calling “New” Old World. We will be working with classic, Italianate patterns but applying them in more contemporary and “less predictable” ways. The floor will feature scattered and “layered” tiles that will be done with a combination of embossing, stains, dyes and acid etching-all in subtle earth tones. The artwork above shows the rough layout and to give you an idea of scale, the large tile in the middle measures 9′ x 9′.
September 7th, 2007
In Love with Lime
Wow! I have been SO busy in the studio. I have so much to share and so little time! I was just reworking some of the samples for our Italy trip and feeling very happy with the results so I want to share! One of the finishes we will do is meant to replicate some of the gorgeousl woven silk fabrics found at Antico Setificio Fiorentino.
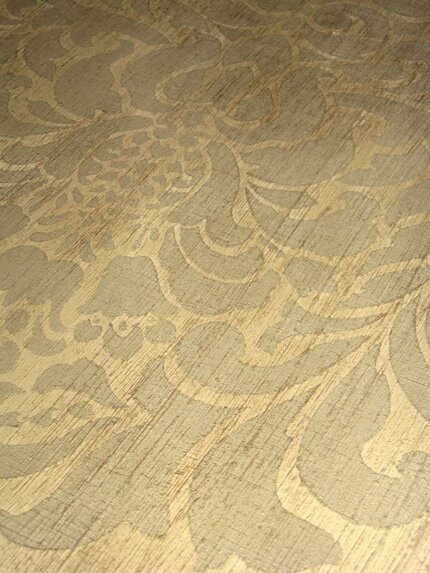
This one is done with Oikos’ Kreos material, which is much like a really thick, somewhat gritty paint. It’s fabulous for creating highly textured looks. For this I troweled on the lighter color and then stria’d it with their Corduroy tool (which resembles really cheap Astroturf). It works better than anything I’ve tried before for creating a slightly irregular stria with lots of nice “nubs”. Once dry I used a stencil and was actually able to roll on the darker color through the stencil and stria through it with a brush without pushing the product under the stencil-even over a textured surface. You really can’t see it well in the photo, but the finishing touch is using two different colors of mica-tinted Bee’s Wax (from Kathy Carroll) and manipulating them a bit.
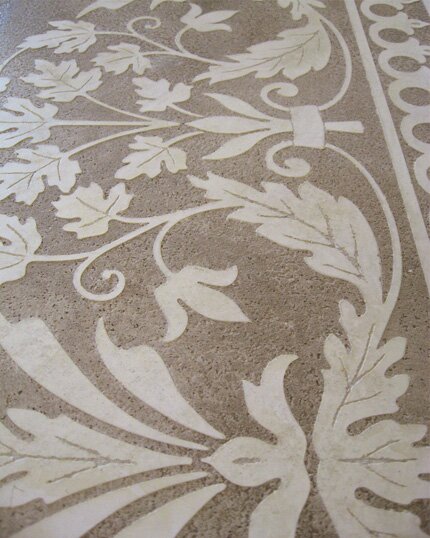
I wanted to rework the Sgraffito finish done earlier for another room and found that the combination of using a 10mil Modello for the main pattern and just a bit of “scratching” with a sharp tool for the vein details makes it look like I was scratching and carving all day-not! I LOVE the Oikos Travertino texture on the background on this one.
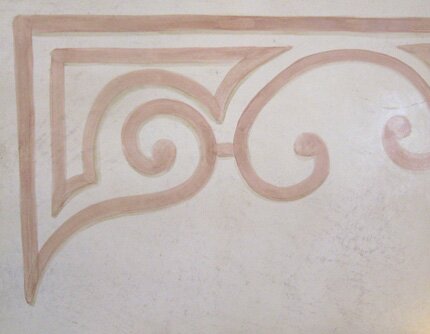
Most of the finishes we will be doing in Alison’s studio need to be kept fairly simple and neutral, as they will serve as backdrops for her own beautiful handpainted and gilded furniture pieces. This Oikos Lime Wash (actually it’s called Pittura Calce Verona) with some handpainted accents will hopefully fill that bill. All of these products can be ordered through Kathy’s site here.
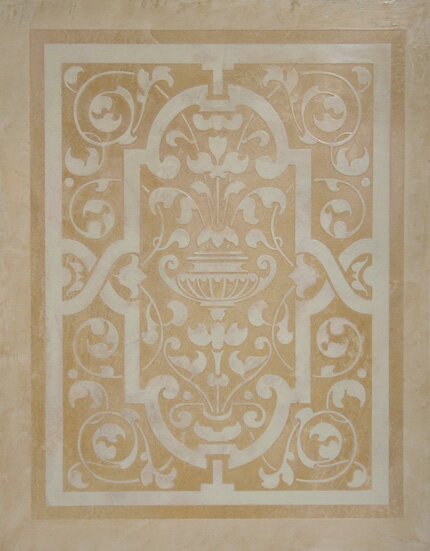
This one uses Safra lime plasters from the School of Italian Plasters and is a sample to test the technique for some cartouche designs what will go around a door and as a frame for artwork. It is a Marmorino base with Calcenova Arredo through the Modello. I have not done much personally with lime plasters in the past, but after the last week, I think I am hooked! Now, to tackle some real walls…..
September 1st, 2007
Operation Decoration
When you are planning an assault or military campaign it’s a good thing to have a really good icon and/or catchy slogan to get people to rally ’round your cause. You know, “Uncle Sam Wants You!” and all that jazz. Well, I am in the final planning stages of a full-blown assault on my new building and it’s freshly primed and painted walls, ceilings, concrete floors, cork tiles, hollow core doors and sheet vinyl. AND I have the icon. Lauren designed this great logo for us and I added the camo because that’s the kind of mindset I’m quickly developing.
We like it so much we are going to have it silkscreened on Alternative Apparel’s Ivory colored “Destroyed” tee. The shirt is all worn out around the collar and hem. Just the kind of tee shirt we USED to turn into a dustrag. Now we LOVE it. Cracks me up. So, we are going to put the logo on the front and a slogan on the back. I am thinking of “Waging war on white walls and boring surfaces”. Does that grab anyone?!?!
I am putting together an extensive series of low-cost, study/work classes that will allow participants to learn the techniques, create samples and then immediately apply them to real-world situations-that just happen to be available in my new and needy building. I am also bringing in some special guest instructors. We will be emailing the workshop schedule to our student database next week, so be on the look out for incoming information if you have taken classes here. If you have studied with me at other locations and wish to consider enlisting, please email me. I promise you a really cool tee shirt….


 Copyright © Designamour