July 5th, 2011
Painting at the Monestir
I have been super fortunate to have been given the opportunity to plan and lead painting adventures to many beautiful cities and countries of the world: France and Italy with my friend Gary Lord, and Marrakech with the help of Maryam Montague. These trips have now actually become an integral part of my business AND personal life. I love doing all the research and planning for both painting and enjoying the local culture, and most especially introducing new experiences to the students who sign on to these trips. With the help of my friend in Barcelona, Paul Deprez, I have just returned from a 2-week stay in Barcelona and the Catalunya region.
This was my fourth visit to Barcelona, and each time my love for this city grows exponentially. So much so that I am already planning a return painting trip for September 2012! But back to THIS trip….I have so much to share, but thought I should start with the primary reason *cough* for the tour-the decorative painting classes.
The trip was planned to include a 6 night stay in the city and 6 nights in a former monestary in the hills nearby.The monestir, Sant Jeroni de la Murtra, was partially burned and sacked in the 19th century during a widespread backlash against the corruption and power of the church. It is now run by a private foundation that maintains it as a place for solitude, silence, and encourages artistic pursuits.
We were able to set up some small, low-ceilinged rooms as studio spaces to work on a range of projects. I wanted to take the opportunity to incorporate some forthcoming stencils from The Hearst Castle Collection, as these were designs created by Julia Morgan to decorate Hearst Castle in a Spanish/Mediterranean Revival style.
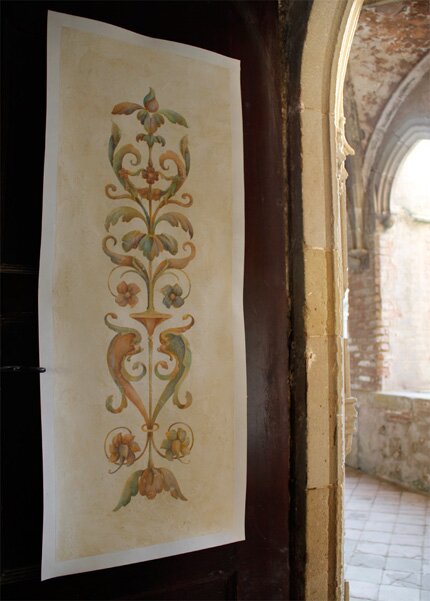
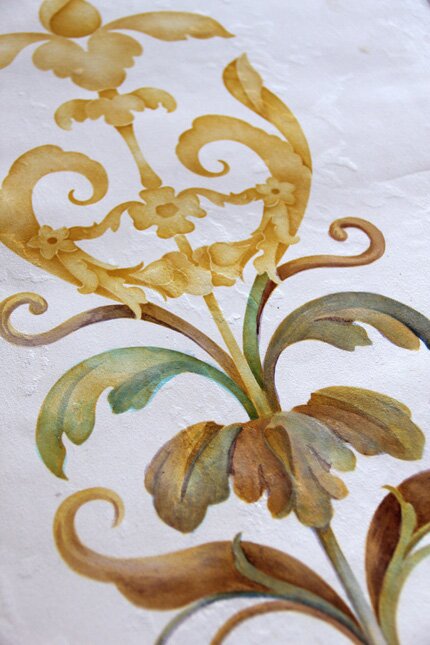
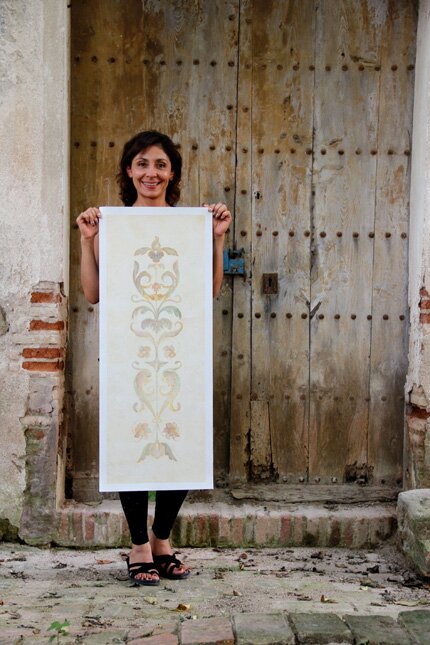
The Delphine Panel sample was done on smooth textured plaster background. We laid in the initial color and pattern with a simple dry-brush stencil technique. I was inspired by the amazing work of Italian artist, Carolina d’Ayala Valva, to overpaint the stenciling with washes of color to create a luminous look.
Some day, I would love to have the opportunity to study with Carolina in her Rome Atelier, but in the meantime I have her wonderful book, which I highly recommend! After painting with watered-down acrylics (as opposed to the traditional egg tempera) the painting on plaster was sanded to distress, and given a soft toning glaze.
Here is lovely Nancy showing off her own completed panel.
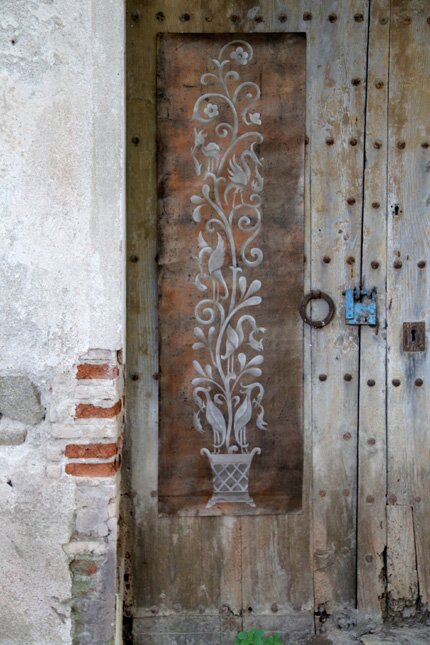
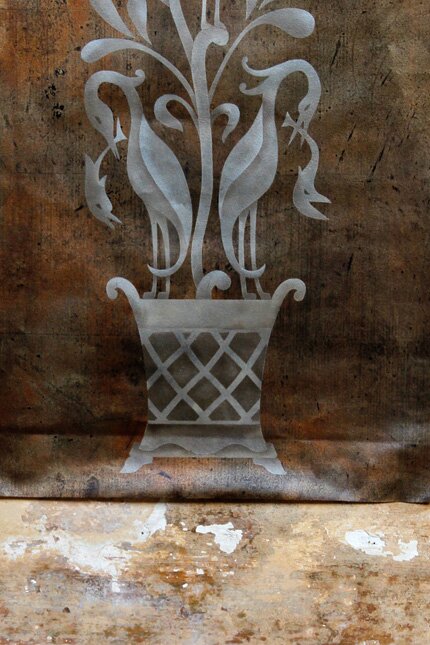
Another panel that I have taken from Julia Morgan’s amazing architectural drawings is the Pescado Panel. It is full of whimsical birds and fish that appear almost happy to have been caught-ha!
This panel is stenciled with three colors of our new Royal Stencil Cremes over a background of composition gold leaf. The gold leaf has been patinated and distressed with a safe chemical process that I am still perfecting-as much as you “can” perfect a chemical process! Once I have it a little more “under control”, I will surely share the details. ![]()
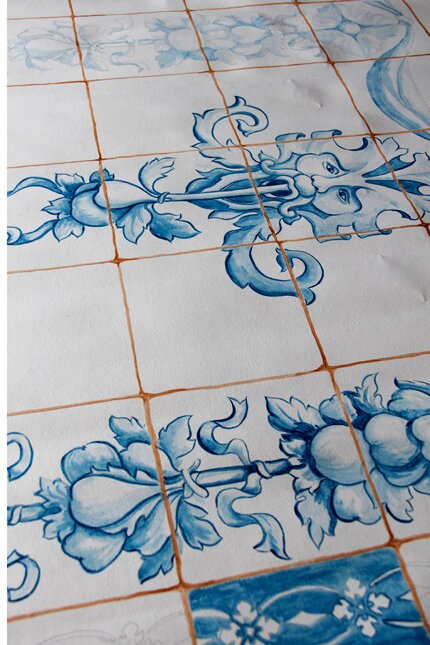
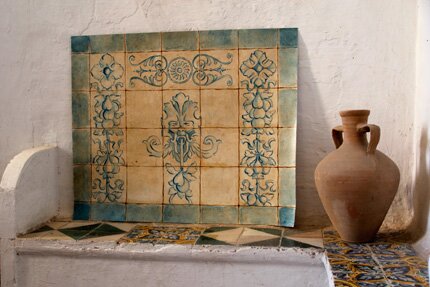
Another project that we worked on was a faux tile mural. For this we again used upcoming Hearst Castle Collection stencils. In this case we simply used them as patterns to trace and then add loose hand painting to create the look of classic Portuguese tiles. My sample above shows the mural in various stages of completion. I hope to finish the mural in the next couple of weeks. It was thrilling for me to have the time to actually pick up a brush and paint, as it seems my hands are most often attached to a computer keyboard these days!
This study shows the final effect of the last step-adding a China Crackle layer (from Modern Masters) and rubbing in a toning glaze to reveal the cracks and add depth and aging.
Here is a completed mural by Debbie Hayes, who was the fastest painter of the bunch of us! It’s quite beautiful, isn’t it? All of the stencils featured in the projects above will be available soon from Royal Design Studio stencils!
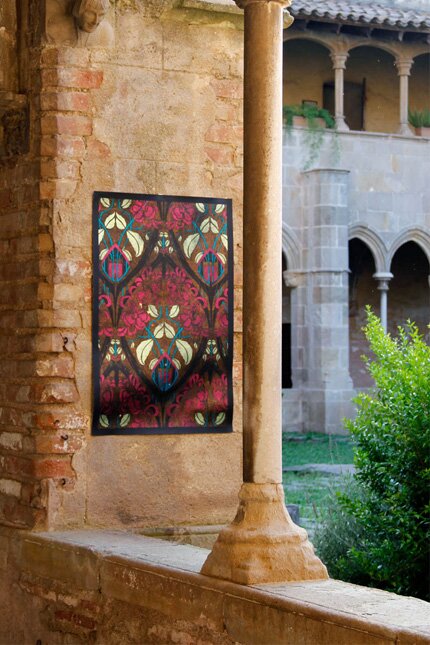
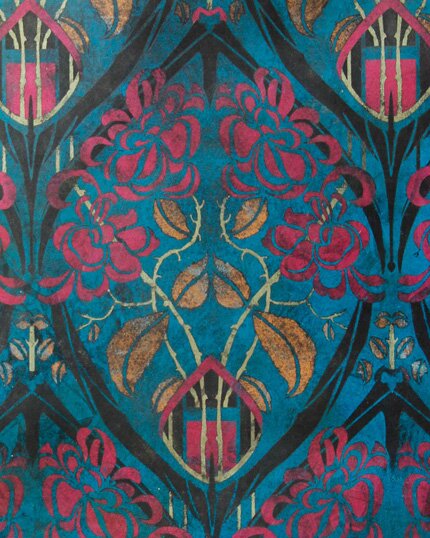
Another decorative style that is synonymous with Barcelona is Modernisme, the uniquely Catalunyan version of Art Nouveau. I wanted to honor that heritage, and so we also did a tecnique using metallic foils with a new Modello Marquetry Masking Pattern stencil from Modello Designs.
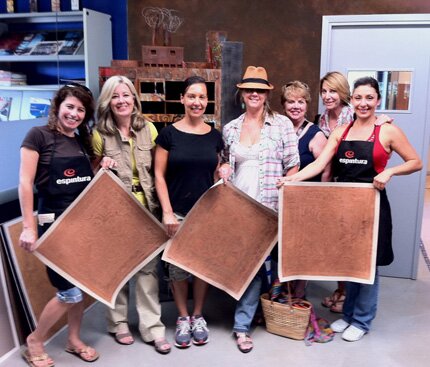
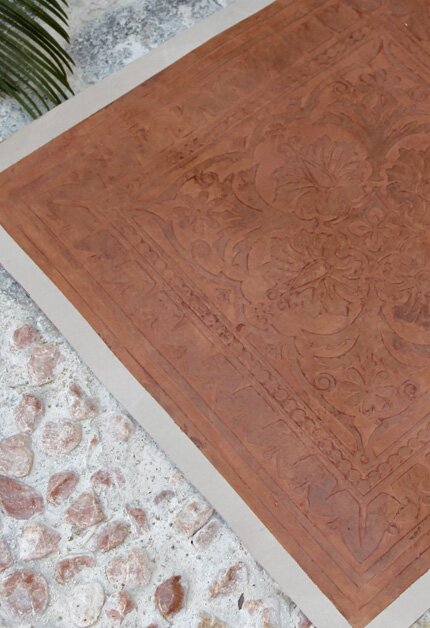
On our way from Barcelona to the monestir, we stopped at Espintura Studio to do an embedded tile pattern technique with SkimStone and a Modello masking pattern.
Now that I am back, I’m continuing to work on the videos and lessons for my next Virtual Workshop combining these two mediums.
I hope you enjoyed seeing our painting samples from Barcelona! As I said above, I am already planning a return trip in Sept. 2012, so drop me an email if you want to be the first to get those details when they become available!. The details on this recent trip are still available here.
You can view more photos from the Barcelona painting class and trip in my flickr sets!
March 3rd, 2011
Stencil Studio Tour
I’d like to personally invite you today on a little tour with me of Royal Design Studio and Modello Designs “home” here in San Diego, CA. I’m slightly embarrassed by the low quality of the video and editing (this was all shot with a little Flip camera), but hope can find some inspiration from all the ways we have used our stencil patterns and Modello masking stencil patterns throughout our teaching studio, offices, and showroom!
I hope you enjoyed the tour and getting to see “almost first hand” what we’ve been doing around here! I have kind of been laying off doing hands on workshops here as I’ve developed the web-based Virtual Workshops, but hoping to find the time to schedule some studio classes here in the coming year. I’d love to get your comments below and please feel free to ask questions as well! I know it was a bit of a whirlwind tour!
February 18th, 2009
Cherry Blossom Closet
This might be a good time to share with you the closet doors that go with Skylar’s lace floor. This project ALMOST didn’t happen, and I’m so glad that it did because it’s SO FREAKIN CUTE IMHO! Maryam had sent me this super inspiration photo as a starting point.
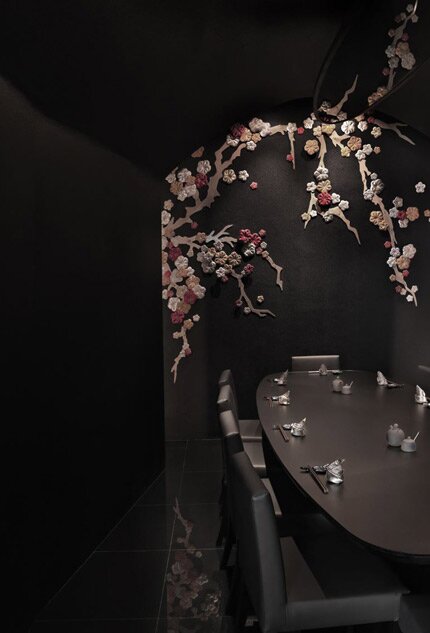
I apologize for NOT KNOWING the source, but think it is just very cool. It looks like puffy fabric shapes that have been applied to the wall. The morning before I actually left for Morocco I had just actually determined that I had run completely out of time to get another project designed and cut and there was no way that this was going to happen. Then, I started feeling JUST HORRIBLY GUILTY that Skylar wouldn’t get her closet done and her brother WOULD. You can imagine the potential for heartbreak there, I’m sure.
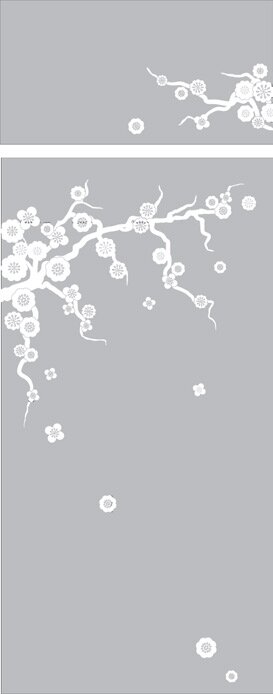
So, that afternoon I quickly designed (as in about 10 minutes) this random cherry blossom pattern pulling the simpler flower shapes out of the lace pattern. With the help of Heidi and our great production department here we got it set up and cut in time to stuff in my suitcase.
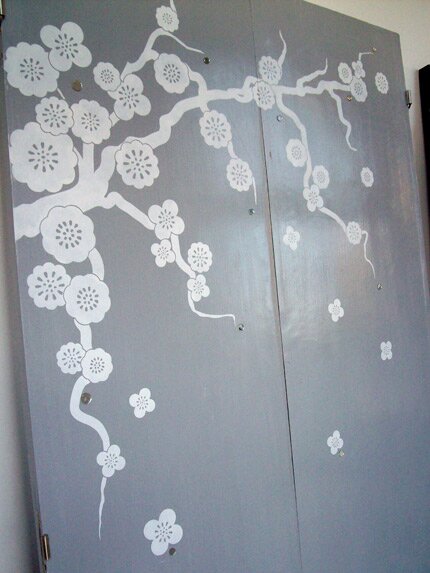
The design stretches across two closet doors which open in the middle. (shown here in the hallway where they were expertly painted by Cynthia)
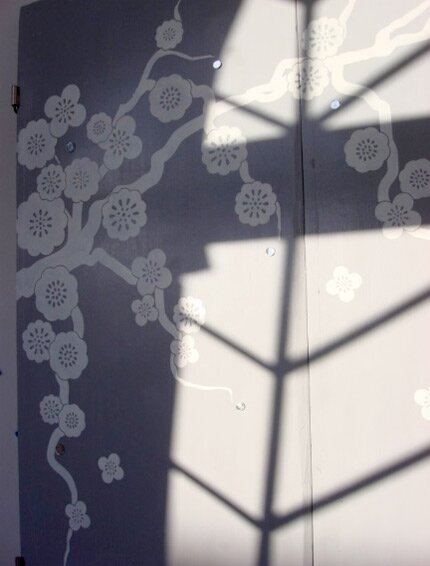
I had purchased some packages of little round mirrors and gave Maryam the assignment of placing a few here and there. Aren’t they sweet?
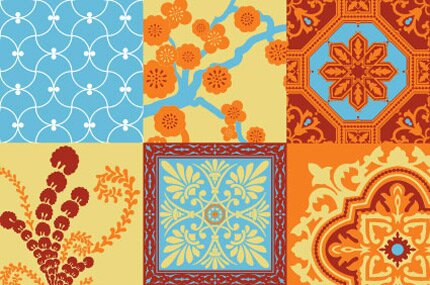
We are adding many of the designs that we did in Marrakech both to the Modello Designs website as Decorative Masking Patterns (one-time-use, vinyl stencils) and also turning many into reusable mylar stencils for the Royal Design Studio website. Yes, we are busy little bees here……
February 3rd, 2009
Go Forth and Multiply
It’s amazing how a little design idea can snowball into something bigger, especially in one’s own head. Maryam had suggested a stair riser project similar to the one that we did last May in the 3 bedroom quest house (which I will share next…..). “If you could just do three different patterns and we could alternate them it would be great”, she said. I think she knows me too well by now! Of course three patterns simply wouldn’t do, as I told you here.
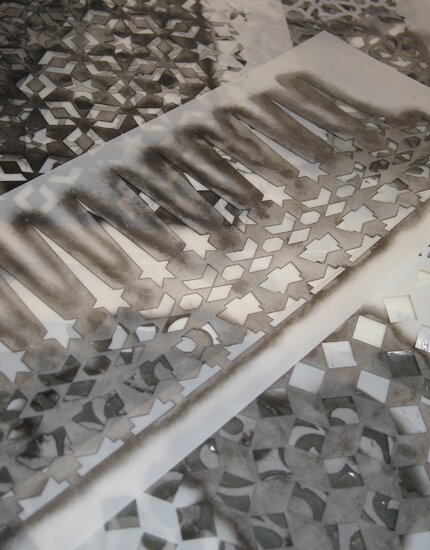
How about 22 patterns, one unique for each stair riser? Well….OK! So, the paint-covered, used stencils piled up….
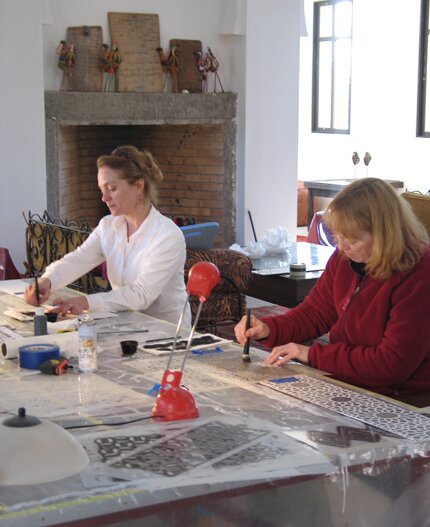
…..as the ladies (here Heather and Margaret) took their time stenciling by a roaring fire to make sure that each was perfect….
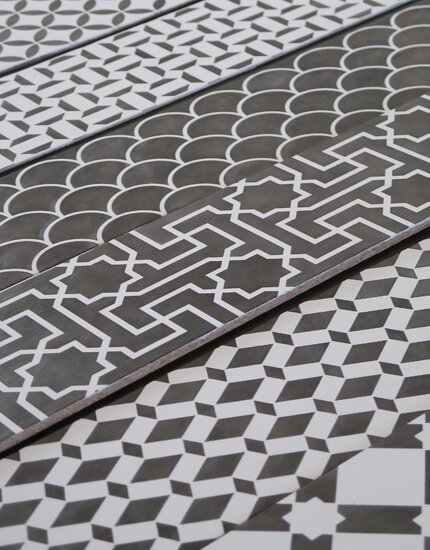
….and they are….
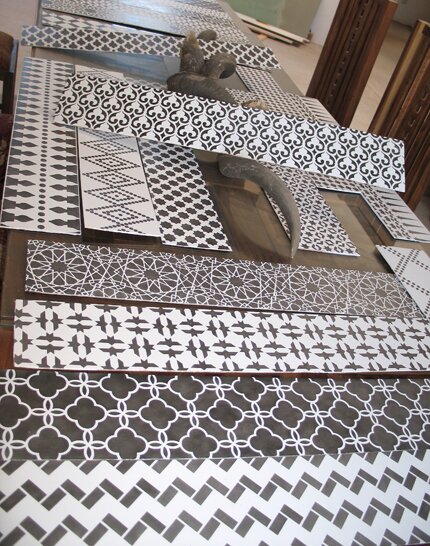
….filling up a large dining table and waiting for Chris to CAREFULLY install them on the wooden staircase he has built.
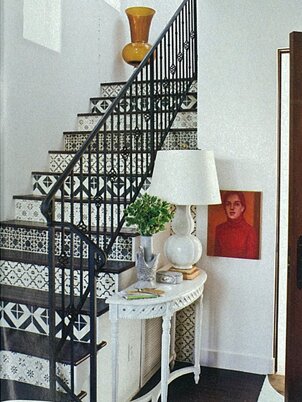
I imagine that they will look something like this photo from Cottage Living, which shows black and white patterns done on riser with tile. Most of these stencil patterns will be available shortly through Royal Design Studio (some in larger scales), and they will be equally lovely done in the classic bright tile colors of Morocco.
January 30th, 2009
Art Deco Mural After Rateau
I’m back and ready to share some more Marrakech experiences from our recent painting project at Peacock Pavilions.
I want to share my absolute favorite project from the trip-and I loved creating them all! This was my favorite not only because the “inspiration” was so divine, but it allowed me to stretch my artistic muscles a bit. You see, I spend WAY to much time focusing on my computer keyboard and business matters these days in favor of actually doing the artistic design work that got me brought me to this point in my life. I hope to find more balance between the two this year!!
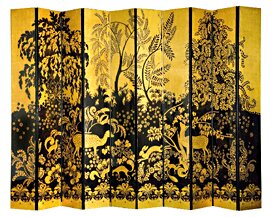
Armand Albert Rateau is the artist who created this amazing paneled screen for Jean Lanvin. Rateau is the decorating force behind Lanvin’s famous Paris apartment in rue Barbey-de-Jouy, which has been now partially conserved in the Paris Museum of Decorative Arts. I will be making a beeline for that place the next time I am lucky enough to visit Paris for sure!
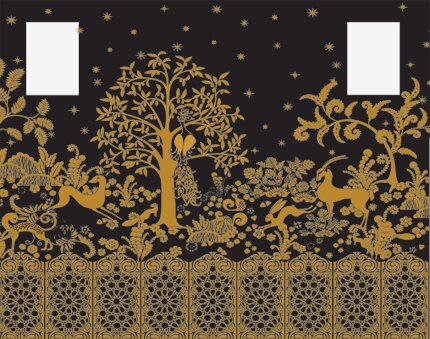
The space is a headboard wall of one of the guest rooms, approximately 12.5′ wide by 11.5′ high. The artwork above shows the computer mockup of the design that was created by using a combination of Modello Decorative Masking Patterns and reusable mylar stencils (for the scattered flowers and stars). While I did borrow a couple of the leaf motif shapes from the original, the majority of the mural was created afresh to personalize it to Peacock Pavilions while attempting to maintain the Art Deco feel of the original.
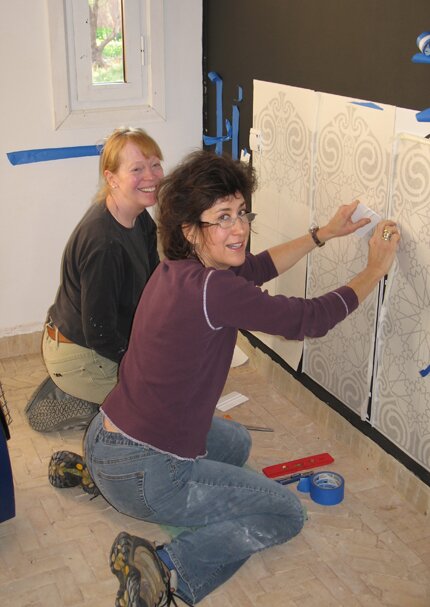
A deep decorative dado was added to unify the wall and to also provide a painted decorative headboard to the beds, which will need to be positioned both as single twin beds and a double bed, depending on guest’s needs. Here, Margaret and Pam are laying out the initial panels that anchor the mural.
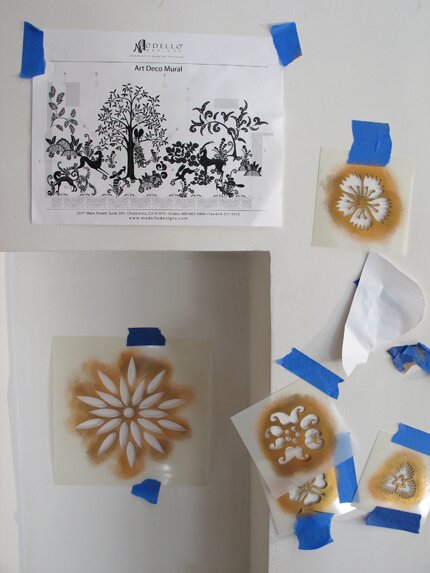
The Modello masking portion of the mural was divided into sections that easily fit together, following a key. We found that we had to complete each section at a time quickly, as a cold, damp, outward facing wall was repelling the adhesive. It rained quite a bit on the days we were working. We actually came back after lunch one day to find a piece lying crumpled on the floor. EEEEK!!
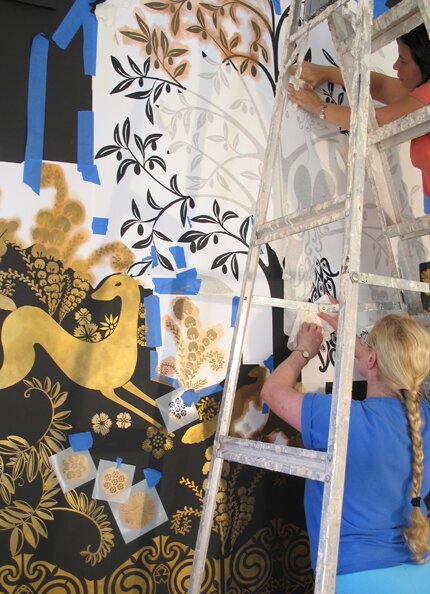
Above, Rebecca and Vicki are wrestling to remove the Transfer Tape while keeping pattern on the wall while the deer (and me) watched expectantly. These ladies were soooo patient and calm-skills needed by every decorative painter as “challenges” are inherent to most projects it seems! The olive tree was included, of course, because Peacock Pavilions sits in the middle of a beautiful olive grove!
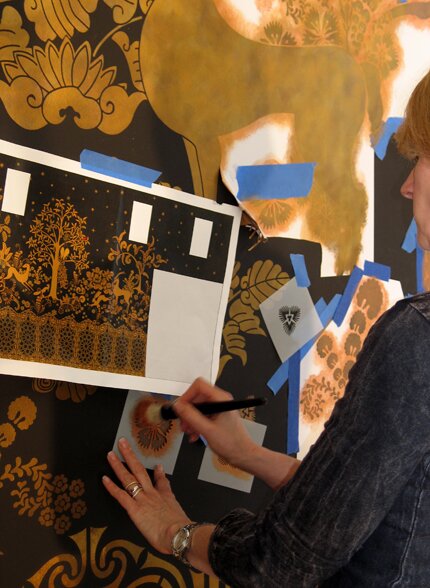
The finishing touches were applied with stencils. Here, Cynthia is following the graphic to apply some of the random flowers and stars with stencils. You may be wondering how this beautiful gold effect was achieved. I toyed with the idea of using either metallic paint or real composition gold leaf, but opted instead to use one of my favorite quick and easy methods for creating a gilded effect: We combined Mica Powders at a ratio of 1:1 with Aquacreme (a scumble-type glaze medium) to create a thick, opaque, glimmering stencil “gel”. It dries fairly quickly when applied with a dry brush method, so you can layer quickly for dense coverage-even over black. We used 3 different colors, randomly applied, to achieve a somewhat “tarnished”, aged look.
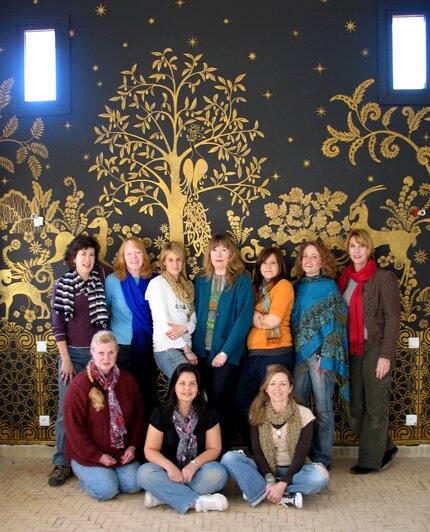
It makes quite a lovely backdrop for a group photo, I think! Our hard working, hard shopping Peacock Painters this time were: (back row) Pam Grace, Margaret von Kaenel, Cynthia Davis, Barbara Rasmussen, Robin Johnston, Heather Bruno Sears, Melanie Royals, and (front row) Rebecca Hotop, Vicki Schultz, and Gwen Ware.
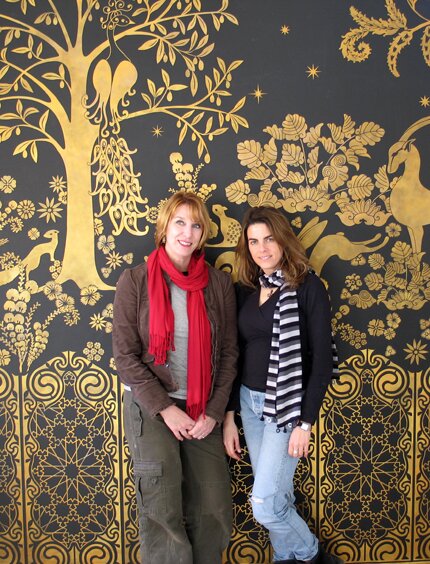
Maryam and me….
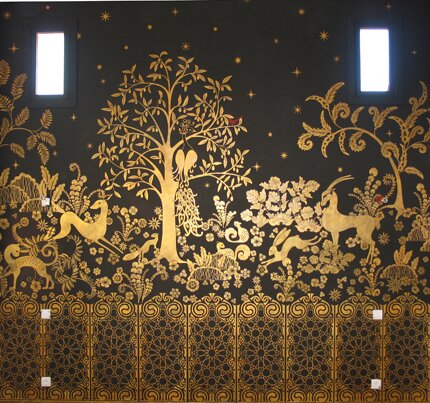
……the full view…..
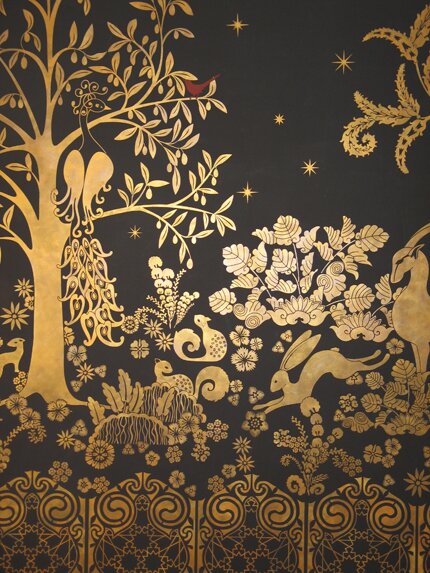
…and a detail. Can you imagine how fun it will be to sleep under the watchful eye of these friendly creatures? I can’t wait to see how Maryam beautifully decorates this room, but I know it will be stunning. Individual patterns and motifs avalable soon through Modello Designs!
December 3rd, 2008
Pattern and More Pattern and…
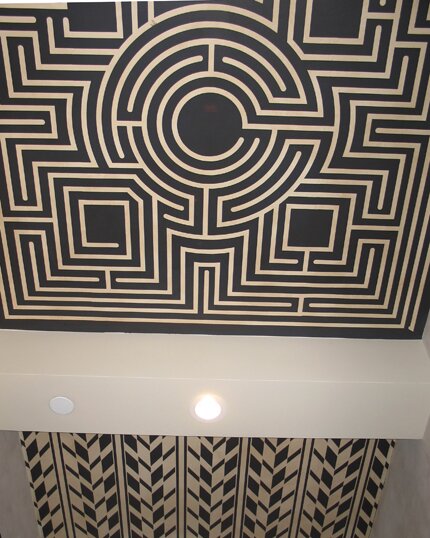
We have a looooong hallway that connects the two businesses, Royal Design Studio and Modello Designs in our new building. Well, actually it is NOT THAT new. We’ve been here a year already. It just SEEMS new because there are still quite a few unfinished areas. My primary decorating goals for the spaces here are 1) to experiment and introduce new ideas for painting and applying pattern, and 2) to showcase as many different of our patterns as possible without driving everyone crazy! So far, I think it’s working. One trick to using a lot of different patterns together is to stick to a very limited color palette. I DO love incorporating black-and combining it with off white creates a nice, clean graphic look. When I originally designed the hallway space, I had the contractor install drywall beams so that I could feature multiple patterns in the separate spaces.
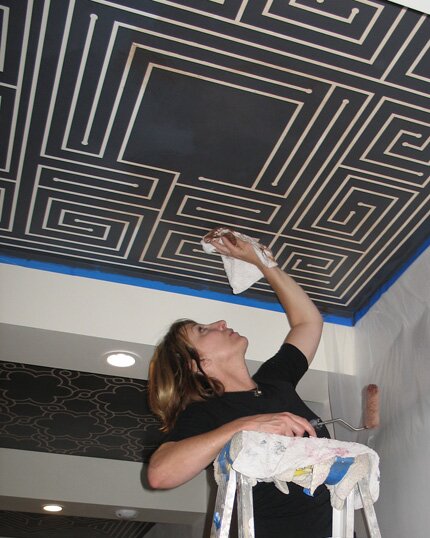
I decided to use some of our new labyrinth designs in every other space. I love the graphic quality of these designs and the way they just draw you in to them. The Modello patterns were painted in a soft black over an off white background. Then, to tie the colors together and soften the look they were treated to a toning glaze of soft brown.
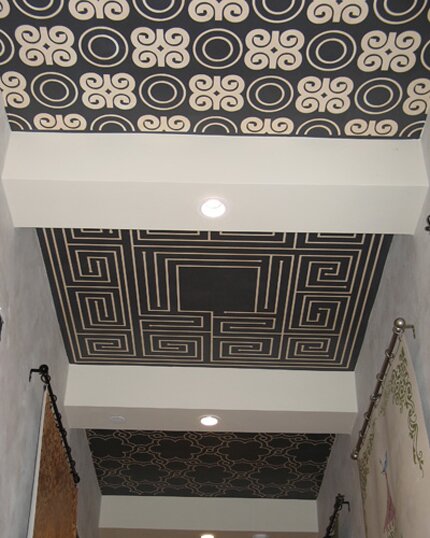
I also incorporated some African and Islamic patterns (IndAll 100 and OrnAll 110), which also have a lovely simple graphic quality that looks very clean and modern in this color scheme.
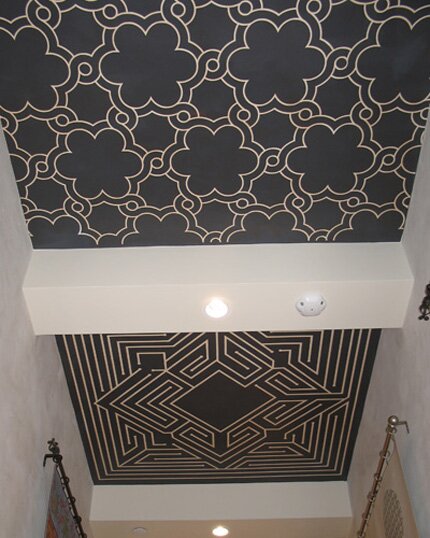
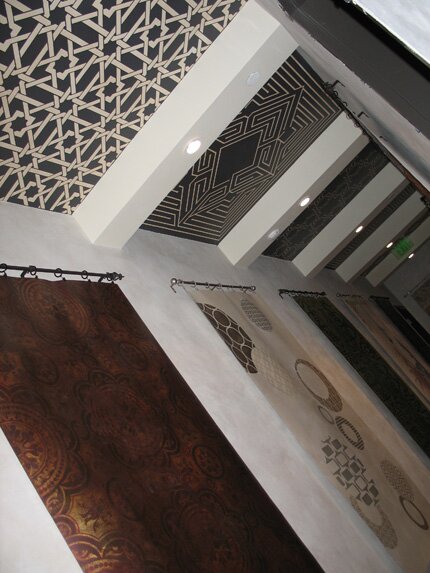
I wanted to keep the ceiling neutral because I have hung a series of canvases that feature some recent decorative finishes that I have created. These were previously featured in posts here, here and here. You may also recognize that gorgeous camel bone weave pattern from the ceiling we did on our last trip to Peacock Pavilions with Maryam in Marrakech. I just HAD to have a little slice of that here. I will be taking a second group of merry painters back there next month. Next month?!
August 25th, 2008
Luscious Lime
You know how when you first move into a new place that needs work you go great guns with the decorating and getting things done? Well I did that last winter when we first took over in our new building, getting some office spaces and common areas designed and artfully painted, and then hit a big fat wall! There are just SO many surfaces and spaces to do-and so many other things that needed attended too, I had to take a break. Fortunately, I have local painting friends that are so sick of coming by and seeing things half done that they’ve taken matters into their own hands-literally. My friend Karen Jorgenson has been orgainizing people to come down and trowel, stencil, glaze-you name it. I’m SO grateful for being forced to make some design decisions and very happy with the outcomes so far.
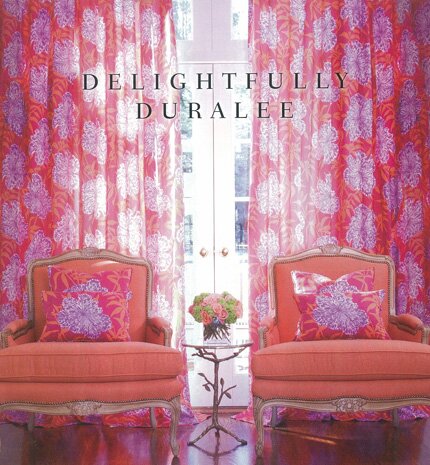
I actually saw this magazing ad AFTER I picked the color scheme for the “meeting room” end of the studio, but it just reinforced for me how absolutely wonderful these colors are together. A couple of trips to Marrakech helped too! Hmmm. Wish I could afford those drapes and chairs….
I picked a super easy finish for these walls of of azure, lavender, hot pink and orange from the Sydney Harbour color deck.
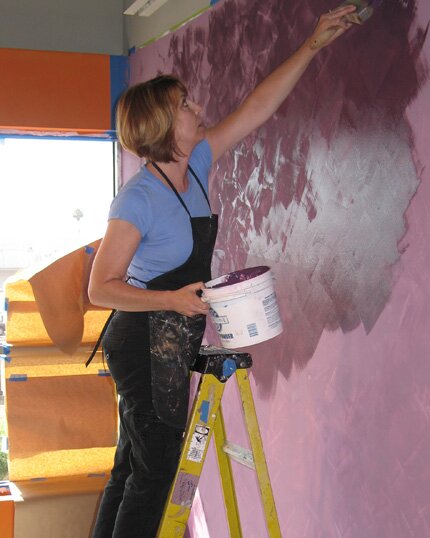
Their Interno Lime Wash is a wonderful lime paint that simply get cross-hatched on in two or three layers over an easy-to-apply primer. We had two people working this large wall expanse, because you DO need to be concerned about keeping a wet edge to avoid “lap lines”.
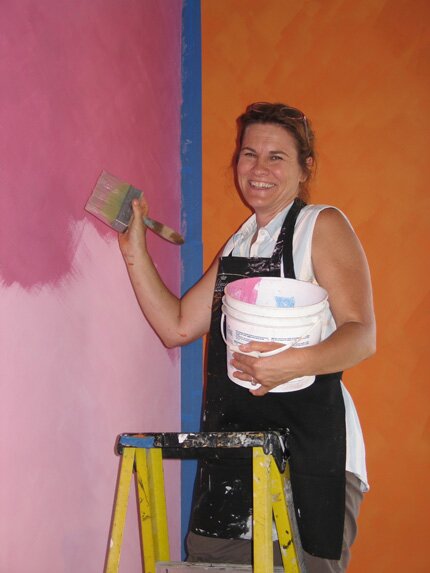
The lime paint dries much lighter, as you can see here where Julie is adding a second coat of pink. Left unsealed (which they recommend) it will continue to “bloom” and change over time. It’s very soft and gorgeous. On the blue wall, though, I sealed it with a water-soluable Bee’s Wax (troweled on) which gives it some added protection and also made the color deeper and richer.

This week, we will be interpreting this arch shape (is this not gorgeous?!) on the lavender wall, using the blue and orange colors to tie it all together. More to come….
May 30th, 2008
The Art of Living UPTOWN
The paint is barely dry and I’m a million miles away from getting caught up with myself but it’s on to ANOTHER big project. Bring it on! I love living a life full of creative tension and unrealistic expectations (of myself, mainly).

I just posted the details of the next Art of Living project over on the Art of Living Blog. Please check it out. Barb and I are super excited. We’re going UPTOWN!
Oh-and check back for more on Marrakech here. I have posts stacked up like the planes at JFK (leaving on Friday night for an international flight)
May 29th, 2008
A Tale of Ten Painters
We arrived in Marrakech with a song in our hearts and brushes in our suitcases.
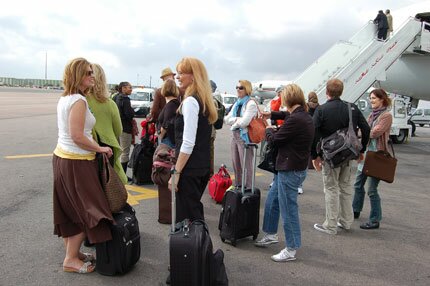
We were on a mission to make magical patterns appear at Peacock Pavilions under the watchful eyes of this special woman.
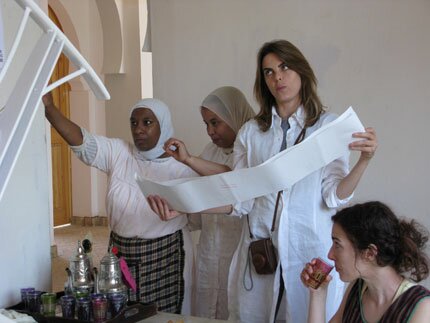
We planned our strategy
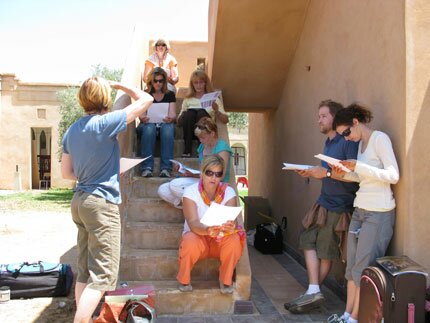
to paint from here
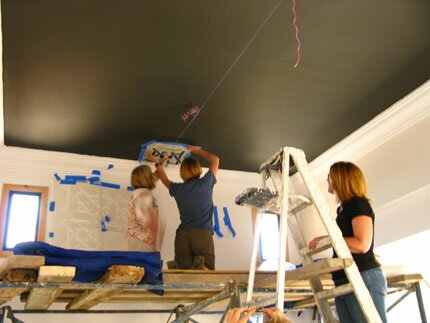
to there.
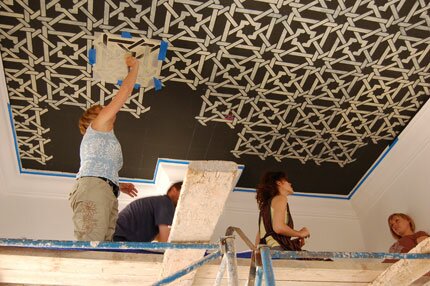
We put up large patterns
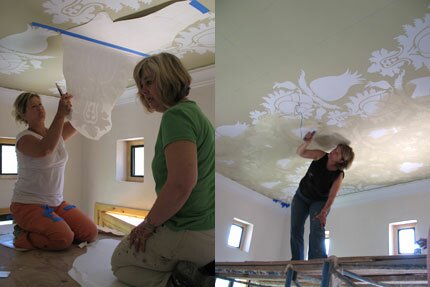
and promptly pulled them down (with some painting in between, of course).
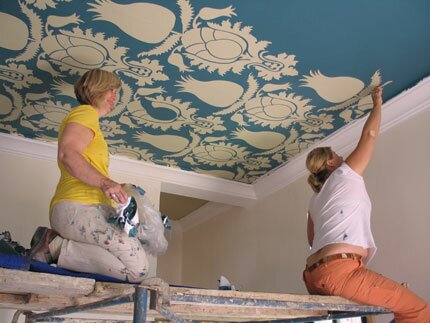
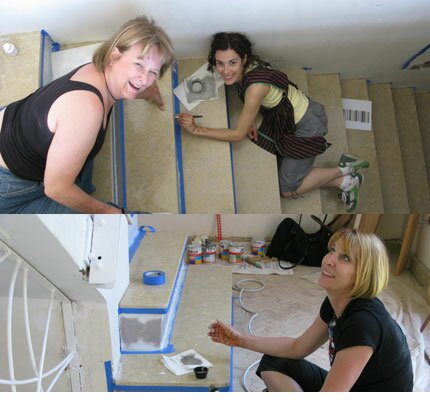
We painted stripes
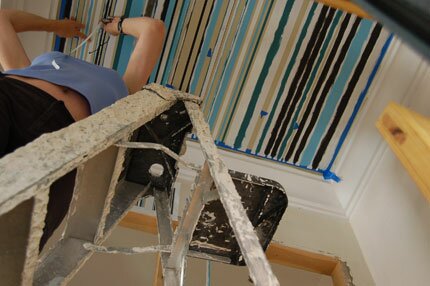
and worked on top secret projects.
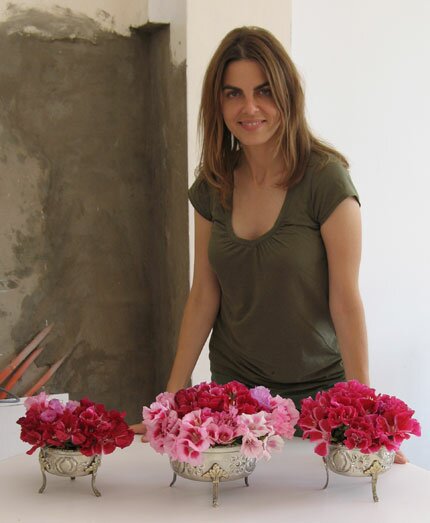
We made Maryam very, very happy.
And we clean up nicely too!
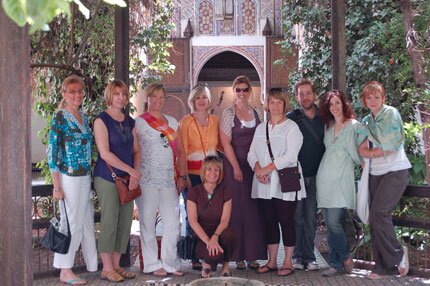
The Peacock Painters from left to right: Jackie Wiggens, Melanie Royals (me), Kari Caldwell, Debbie Hayes, Sandra Barron, Barbara Skivington, Todd Oberndorfer, April Long, Heather Mueller and Becky Roth (kneeling). Thanks for the hard work and wonderful memories guys!!
PS Check this post on decor8-simply the best design blog in cyberspace. Woohoo!
May 12th, 2008
Holy Tabouleh!
I am leaving for Marrakech this Friday! EEK! I am SO excited and SO stressed with SO many things to do before I go I can’t stop capitalizing my words! OK, calm down. Breath. Breath again. That’s better. After exchanging about a million plus 6 emails with the famous and fabulous Maryam, we think we have all the details nailed down and MAN we are going to do some pretty fabulous things at Peacock Pavilions! There will be stenciled concrete floors
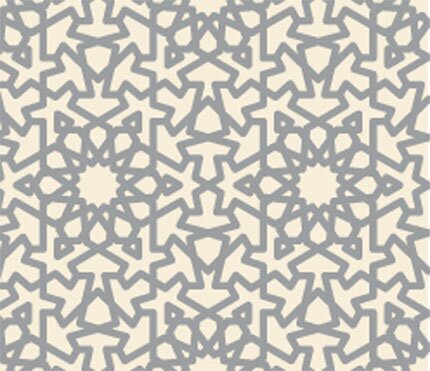
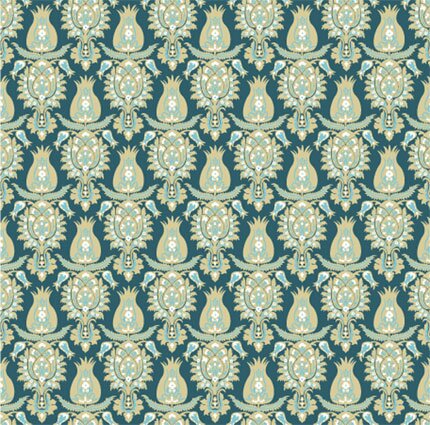
Suzani-inspired ceilings
Painted desks
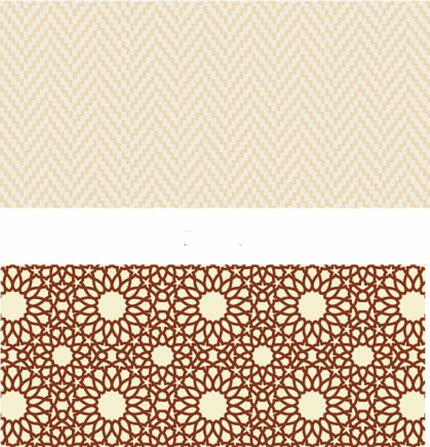
Wonderful woven patterns inspired by camel-bone furniture inlays
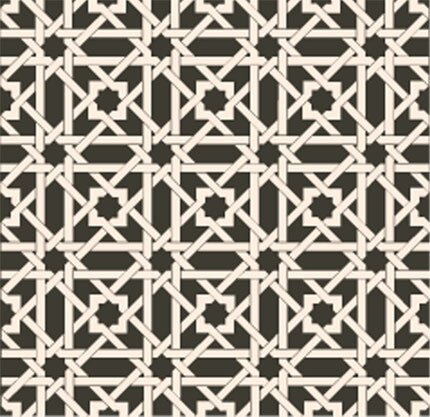
and some other VERY cool things that I CAN’T share because they are special patterns that are secrets that will be used on equally special secret surfaces at Peacock Pavilions for a super secret project that I’ve been sworn to secrecy about. BUT if you pull the decoder ring out of your Lucky Charms cereal box and put on your special 3D glasses you MIGHT be able to figure it out. If not, I’m sorry, you must wait along with the rest of the world.





 Copyright © Designamour