January 13th, 2011
Corsini Damask Stencil Art
One of the more recent additions to the Royal Design Studio stencil collection is the Corsini Damask Stencil. This stencil pattern was developed especially for the Italy painting trip that I hosted last October with my good buds Gary Lord and Alison Wooley. It was a special trip, filled with lots of fun and good painting friends. The Corsini Damask Stencil gets it’s name from the Corsini family-a blessed and noble Italian family with a long and rich history who also happen to own villas, palazzos, and castles througout Italy, including the Castello di Casigliano where we were fortunate to work, stay, and play for a second time in the last three years.
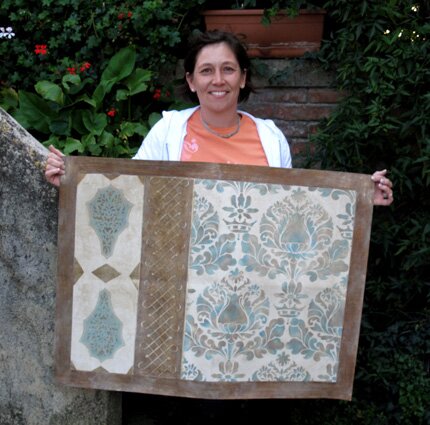
For my class project, I decided to give the students a limited range of stencils, Modello Masking Stencil Patterns, some interesting paint techniques, a limited color palette, and a large piece of canvas. Basically, I turned them loose to exercise their creativity and the results were fantabulous!
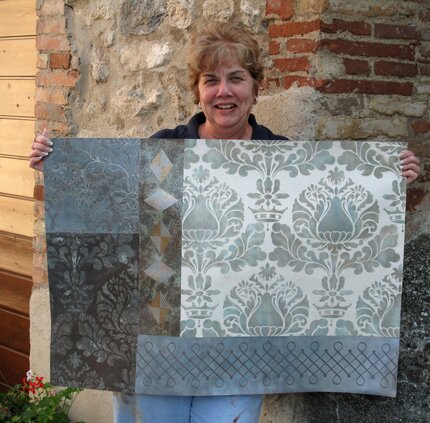
Each canvas became a unique work of art and it was so inspiring to see how each person interpreted the patterns and colors in a special way.
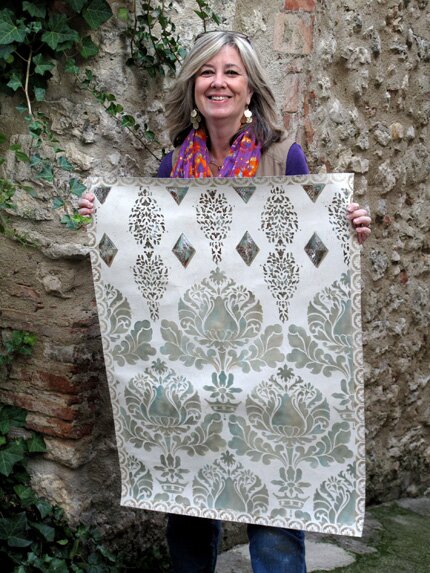
Applying stencil patterns as canvas art frees you to really explore color, texture, shape, and scale in a different way from wall stenciling. You can be bolder and more creative with your color combinations, and easily introduce mediums other than paint, such as gilding, plasters, and waxes. Basically, anything goes!
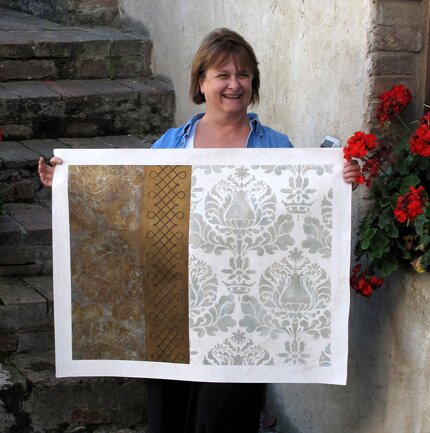
This canvas art was done on Roclon, an amazing material that is actually canvas laminated to both sides of a thin plastic core. It is very flexible, wrinkle resistant, doesn’t shrink, and comes ready to apply paint, plaster, metallics, or whatever medium you want to work in. Alternatively, you can do stenciled canvas art on stretched canvas that will be ready to hang. The type of canvas art shown here is ideal for hanging from a decorative curtain rod, as you would a tapestry. Artwork done on the Roclon cloth can also be permanently affixed to a wall with wallpaper paste. My fabulous artist friends shown here are (top to bottom) Lauren Gaines, Nancy Jones, Debbie Hayes, and Barb Skivington. Of course, you can use the Corsini Damask Stencil very nicely on a wall too!
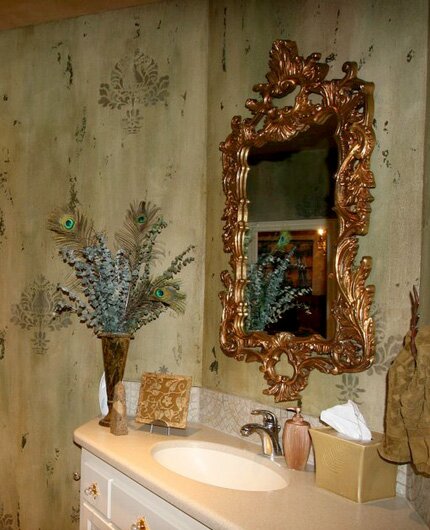
This room above was done by Sass Lassly, another great addition to our Italy painting adventure, in her own bathroom. Note the random application of the stenciling. This is a great way to add pattern quickly and artistically.
I hope this post inspired you! Hint: Stenciled canvas art is also a great way to use up those little bits of paint and plaster you have lying around, as well as maybe revisiting some stencil patterns you may not have used in awhile. The 3074 Corsini Damask Stencil is available in both a large and small version. The small version is shown in all photos above.
August 4th, 2009
Fresh Stencil Project: Flower Patch
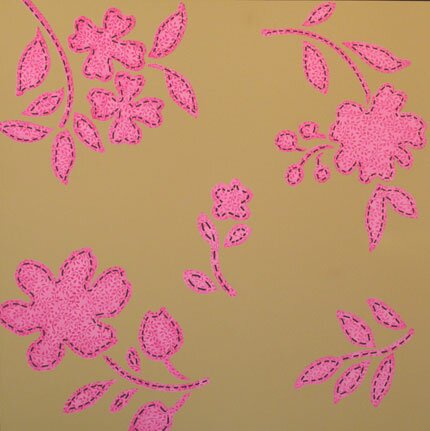
I thought I’d share a fun and easy stencil project that I worked up with one of our latest stencil designs, the Large Flower Patch, from Royal Design Studio. It combines both roller stenciling and brush stenciling, and features my favorite wall paint-Aura from Benjamin Moore. I like to use the Aura Paint for stenciling in projects where I am looking for 100% opaque coverage. Not only does it cover beautifully, it dries FAST so you can do additional layers if need be very quickly. You need to get it mixed up in a minimum quart size, so it doesn’t make sense for small projects, obviously, but if you are doing some color blocking in your room, you can use the extra for stenciling. For instance, the pink color could go below a chairrail, in stripes, or even on the ceiling if you’re THAT daring! The basecoat here is Tumeric and the pink color is Springtime Bloom. Aura paints come in their own special color range but you can have any color mixed in the Aura base from the Benjamin Moore color deck.
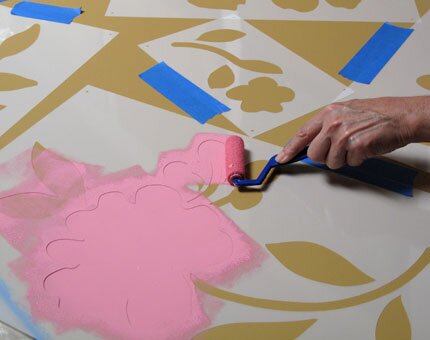
The Flower Patch stencil set consists of 5 different motifs. Each one comes in two layers: the large silhouette shape and the stitching detail. I started by laying out the silhouettes randomly in a pleasing arrangement. Note that this was done for a sample display board. On an actually wall or furniture project I would generally have them space further apart! I used a small, short-nap roller to roll on two coats of the Springtime Bloom. The paint dries very quickly, as I said, and I was able to do all five motifs, wait a few minutes and then go back to cover more fully with a second coat. In order to keep the paint from running under the stencil, I “offloaded” the roller a bit by rolling it over some paper towels before hitting the stencil. I also took care not to presss REALLY hard with the roller.
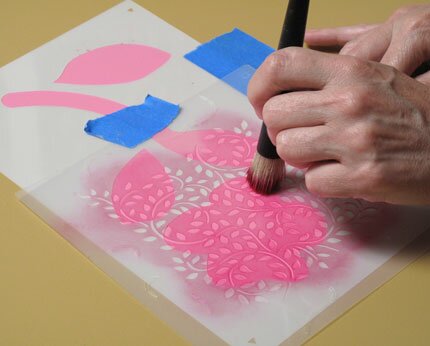
I cleaned this paint off the silhouettes and replaced them in their original position before continuing. I detest using dirty stencils and cleaning them up right away makes the job SO MUCH easier. Click here for stencil cleaning tips from our Facebook page. With the silhouettes back in place I used our darling little Lacy Leaves stencil to stencil an allover pattern through the motifs, creating the look of fabric “patches”. For this, I used a dry brush stencil method with magenta colored acrylic paint.
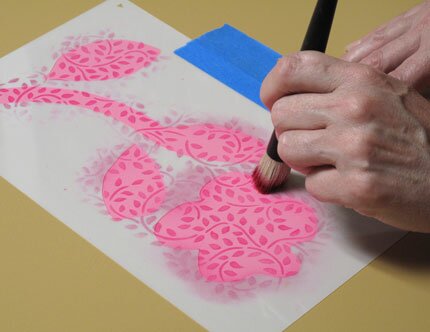
I then used the same magenta paint to swirl a little color just at the edges of the silhouette shapes to give them some more definition. I didn’t try to shade these too much though, as I didn’t want them to look “puffy”!
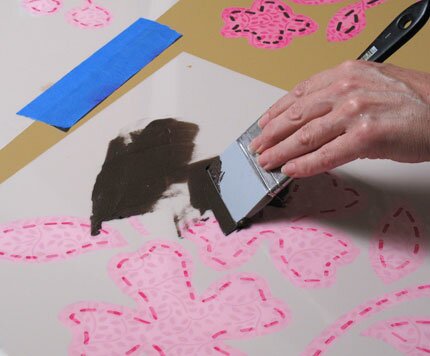
For the stitching detail, you could use a dark brown or black paint to stencil, but I wanted to give the stitches a little dimension so used a dark brown plaster (Espresso Lusterstone) applied with a Colour Shaper tool. You could alternatively use a synthetic Venetian-type plaster for an embossed effect.
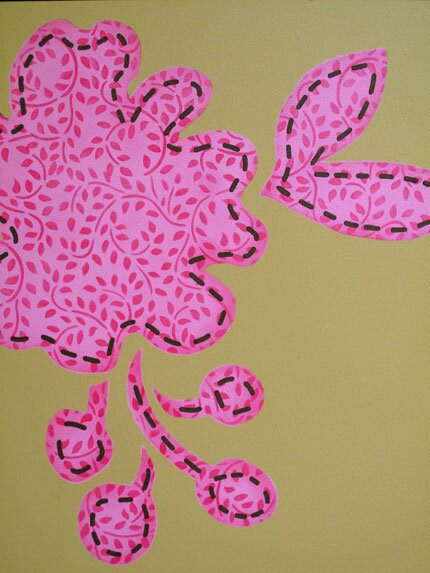
Here’s a detail. I think that this would be so adorable in a nursery or little girl’s room, and can imagine all sorts of fun color and pattern combinations with this Flower Patch design!
July 17th, 2008
Cool Canvases Series 3
Here is the last in the series of new panels I’ve been showing you in the two previous posts. This first one is my favorite of the bunch, I think. I don’t want to make the other patterns jealous, but I just am REALLY in love with this one.
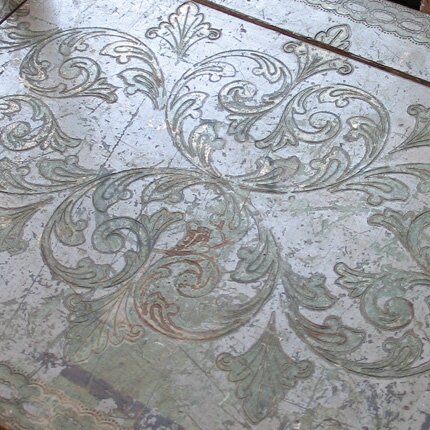
It started with this inspiration-a tabletop photographed at ABC Carpet&Home in NYC, a veritable treasure trove of inspiring things to photograph (and maybe to even buy!)
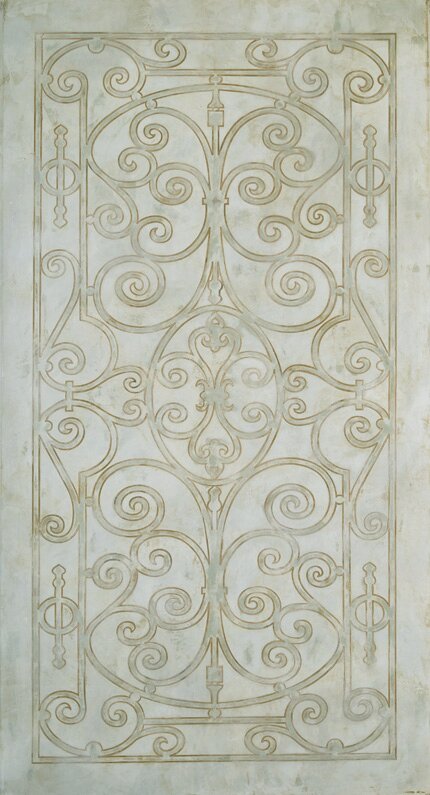
I did an “embroidery” version of one of our new Architectural Panel patterns to get the look of the lines that seem to be carved into the surface (one of my new little tricks). I am going to add this finish to my Boho Modern Workshop and will be doing some new Modello Master Method instructions for many of these.
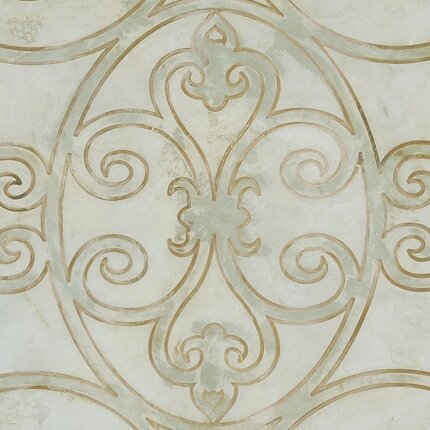
I can tell you that it is done with Fresco Paint from Safra. This is a paintable and trowelable product that doesn’t have any binders in it, allowing you to easy rub back through top layers to reveal other color layers below. Once it is sealed with wax or water-based varnish, though, it becomes totally durable. I think our Break Room kitchen cabinets are going to be getting treated to this!
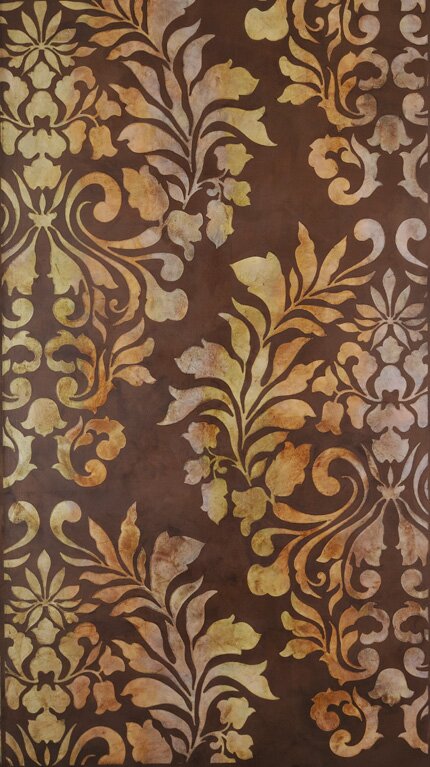
This Fabric Damask pattern is blown way up. Each repeat is about 4′ high. I think everyone is loving the larger-scaled designs right now!
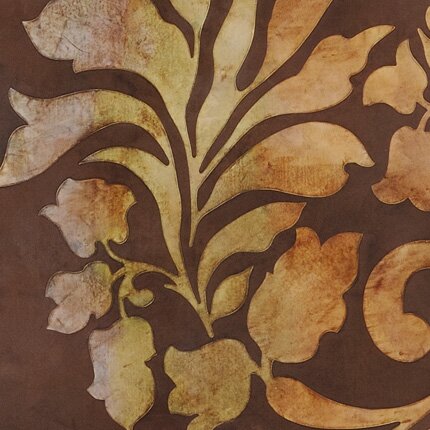
We used some new metallic plasters on the market and layered HiLite (interference) colors over it. Then, a good healthy layer of stain to patinate it. I’ll be sharing more of this later….
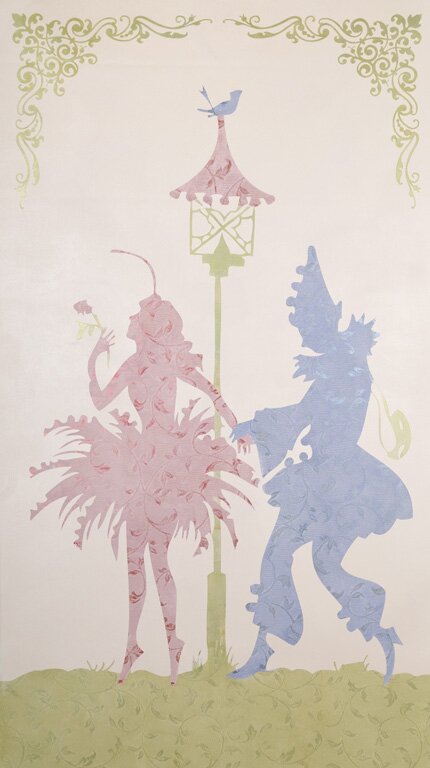
This one uses one of our new Silhouette patterns along with metallic foils, paints and embedded lace. I’ve never been brave enough to tackle an embedded lace treatment on a whole wall, but limiting it to a smaller design area makes it pretty darn easy.
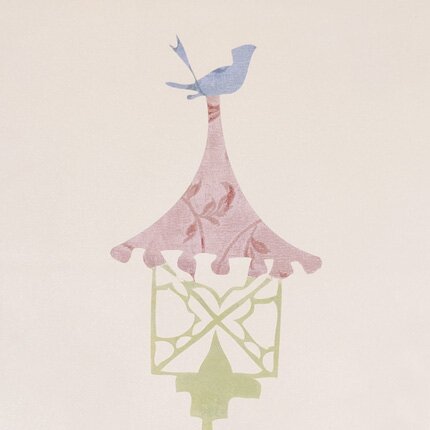
I love the little birdhouse detail. Wouldn’t this be sweet in a nursery??
July 16th, 2008
Cool Canvases Series 2
OK, it’s time to introduce round 2 of the new canvases of finishes I created in the last couple of weeks for the SALI show. Barring any Fedex disasters, these will return to hang in the long corridor that separates the two sides of our building. I have always envisioned it as a “gallery” space, so am looking forward to that….
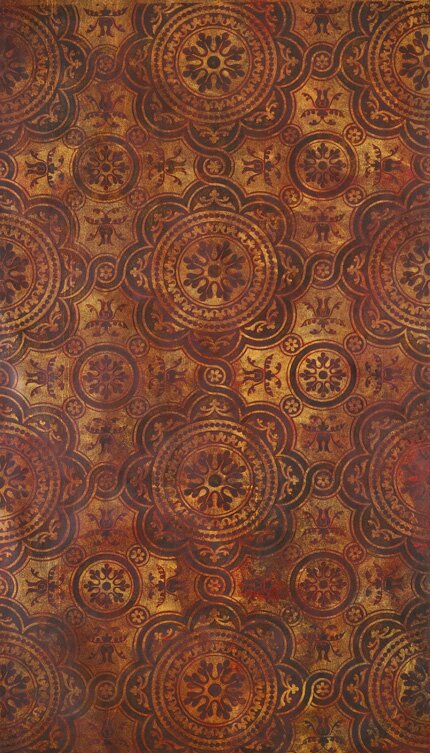
I call this one “Rusted Renaissance”. I was trying NOT to do old world in favor of more contemporary looks, but I love this pattern and thought it would be good for something “simple”. Simple being relative.
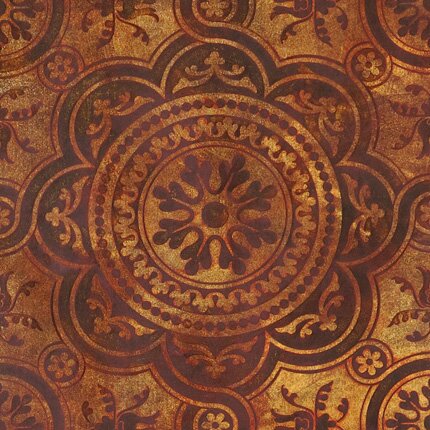
It IS pretty simple, really. Metallic foils with skip-troweled Ebony Lusterstone in the pattern and a couple of layers of stain on top after the Modello was removed.
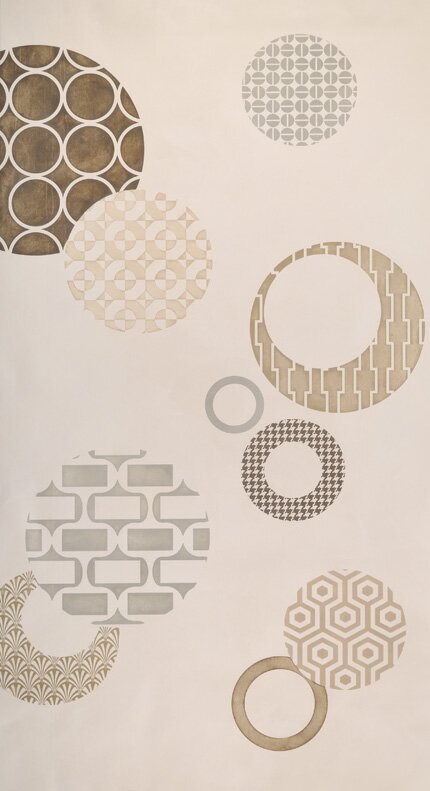
This one IS a bit more modern. I love the effect of putting pattern into shapes and REALLY like the way this turned out.
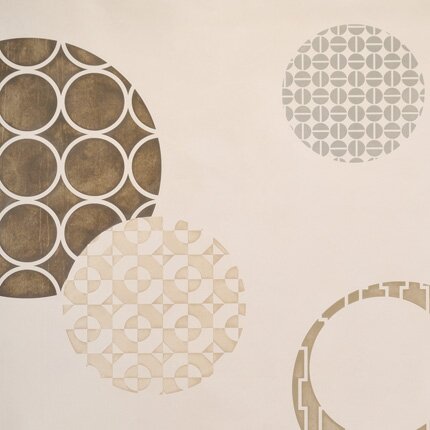
It doesn’t photograph too well, due to the subtle color sheme, but it’s very pleasing in real life and I think the idea can translate to many other options.
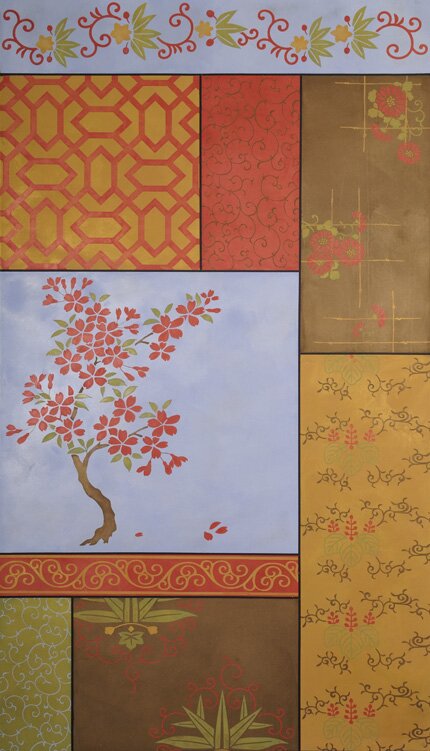
Aaah, finally! I have been planning to do a treatment like this in my home office for a LOOOONG time. I am actually writing this from the dining room as the home office has been dismantled for over a year now, just waiting…..
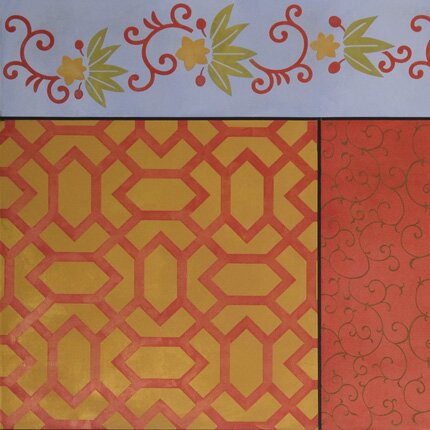
Now that I know how easy this Kimono Collage look really is (once it’s all worked out on the computer) I think I might actually try to tackle this one here at home. Not that the dining room isn’t lovely…..More to come!
You can find all of our latest designs here on the web and in the new Design Library Binder.
July 15th, 2008
Cool Canvases Series 1
When I started in this “pattern” business years ago (as in 25 years ago) I spent almost all of my time drawing and designing original stencils for Royal Design Studio. As that business evolved into two businesses I now find myself too busy “managing” things to actually have time to sit down and draw so have become more of what I consider to be someone who “designs with patterns” more than someone who “designs patterns”. There are so many gorgeous designs to pull from history and different cultures! Plus, I find so much creativity in combining them with different colors, paints, plasters and metallic mediums! Such was the case the last few weeks in creating these large canvases for a trade show to show off some new ideas and designs we’ve been developing. Most of these will get incorporated into upcoming classes and other educational materials. I LOVE having the ability to spark new ideas for other people.
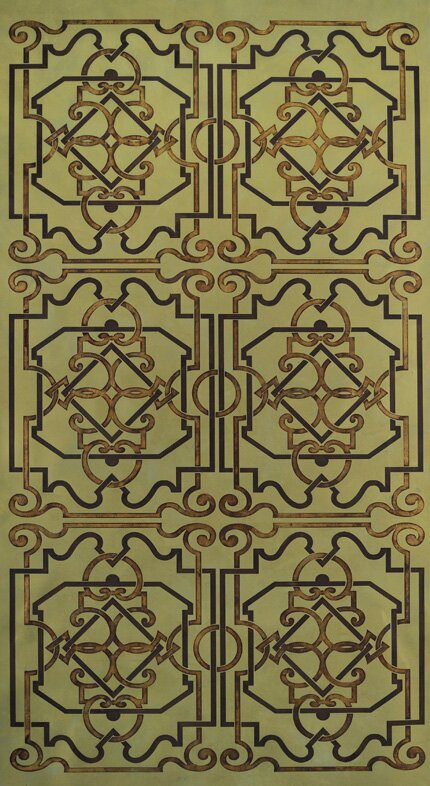
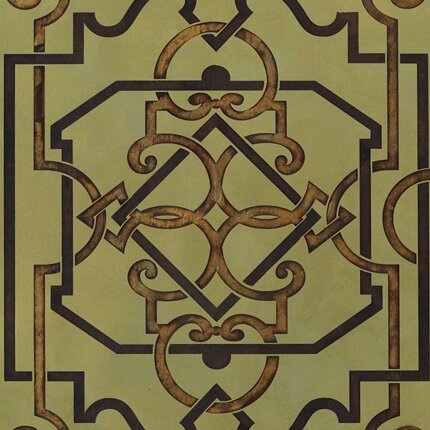
This canvas incorporates one of my favorite mediums, Jasmine Portofino with metallic foil and antiqueing stain.
I was going to to this up very “Hollywood Regency” in a more simple graphic way (black and white, perhaps) but the color bug was just biting too hard.
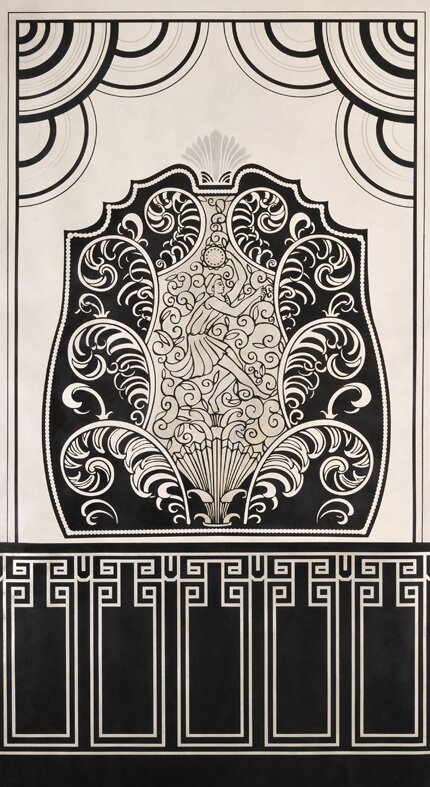
Instead, I chose the black and white theme (plus a little silver) for this Art Deco panel.
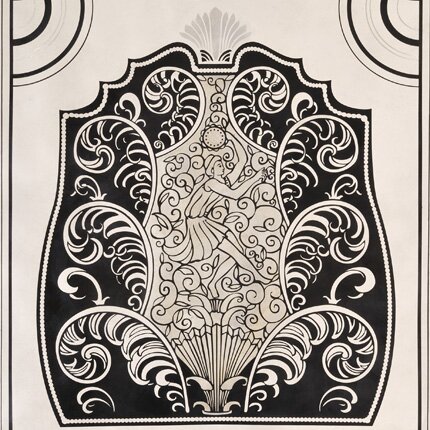
The background is actually a really soft, organic plaster, which helps to soften the highly waxed Venetian plaster.
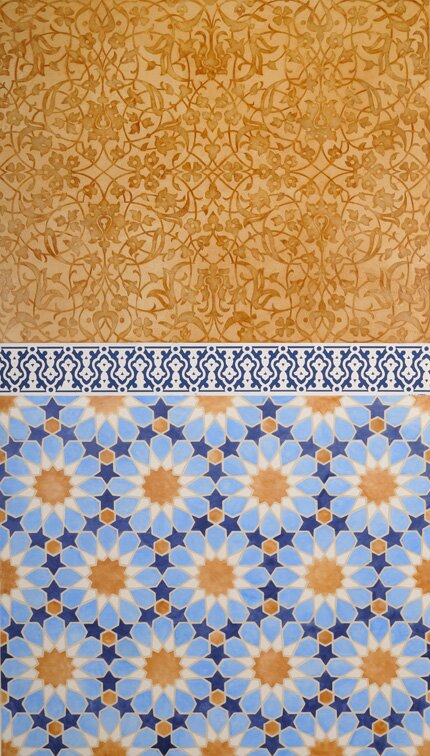
Inspired by my recent trip to Morocco, I had to indulge myself with a glorious blue and orange color combination.
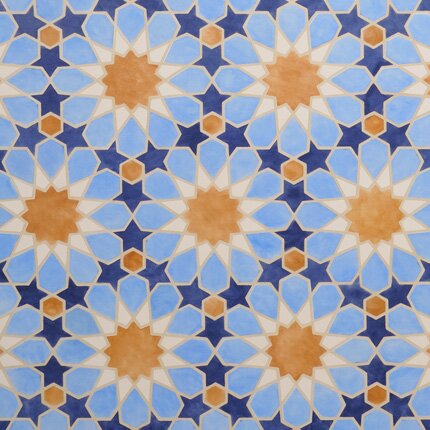
I love the symmetry and geometry of Zellij tiles. In Morocco you will see numerous different patterns and colorways all used within the same space-but I chose to keep it simple here for American tastes.
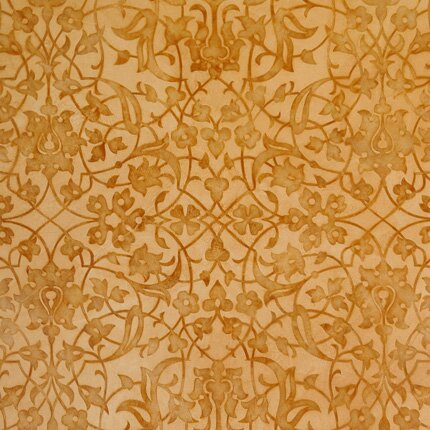
I really didn’t know where I was going with this arabesque pattern, but like where it landed. I used polishing plasters and wax for this finish and it ended up looking quite Fortuny-ish, so I am looking forward to reworking this technique with a Renaissance damask pattern. More soon….
July 14th, 2008
Some Very Revealing Photos
For the last two weeks I’ve been madly working on creating cool and unique decorative treatments with some of our new designs. You see, the SALI show begins next week. This will be my 15th year in a row exhibiting at the Expo there. Each year lately, I tell myself I’m NOT going to kill myself coming up with newer, grander things for the booth and each year that idea flies right out the window as I scramble, sweat and stress to try and top what I did the year before in a mad, last minute rush of creativity. This year was NO exception, and you know what? I’m really pleased! I ended up created 10 new, 4′ x 7′ canvases to hang in the booth (and afterwards in a long hallway in our new building). Don’t you just love when your efforts can perform double duty?
One of my favorite things about using Modello Masking Patterns, on top of all the cool decorative treatments that can be done with them, is pulling the vinyl off to reveal the design. This is generally produces a lot of ooh and aah moments. Quite frankly, it can get a bit tedious, but each pull reveals a little more, a little more, a little more, and suddenly-there it is! I’d like to relive some of the those moments here.
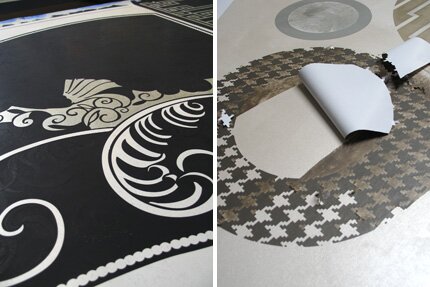
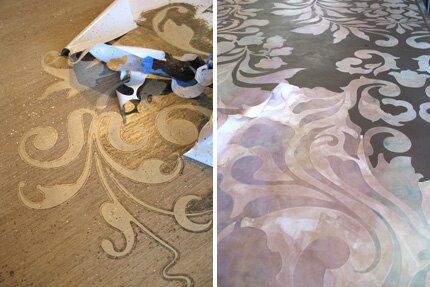
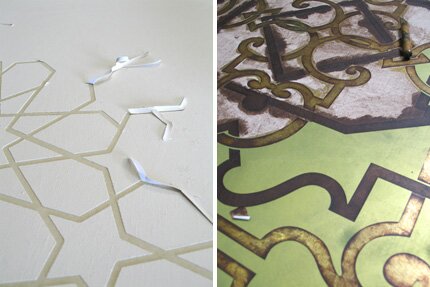
Wait till you see the full reveal! I had them photographed before I bundled them up to ship off to Charleston, SC. Coming soon…..
December 2nd, 2007
Celestial Powder Bath
I thought it was going to be so great having all these new building projects to post on this blog. Problem is, I’m so busy with the projects and dealing with our move-in deadline I can’t seem to find much time to post! With that excuse out of the way, here’s a room that’s almost done that uses the new Celestial Leaf we are carrying. It is WAY cool!
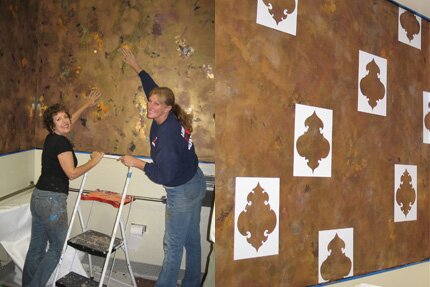
We actually started the first layer back during our Metallic Wall Finishes class. Carol and Cathy are putting the Celestial Leaf on randomly after we troweled on two colors of Lusterstone. The randomness comes from sponging on the gold leaf size. A few weeks later I got back in there and troweled some more layers of Lusterstone on to somewhat “bury” the leaf and then applied the first Modello layers (EasMot 118/119 cut in two layers).
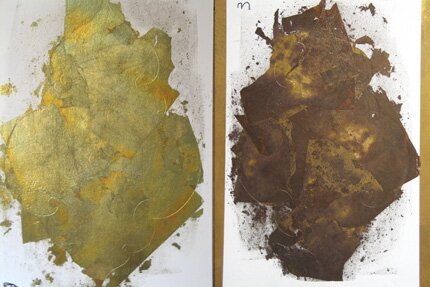
We use three different colors of the Celestial Leaf: Dawn, Moonbeam and Twilight. This new leaf comes from Italy and they have developed a treatment process for the composition gold leaf that creates wonderful, subtle color variations. Shown here are Twilight and Moonbeam.
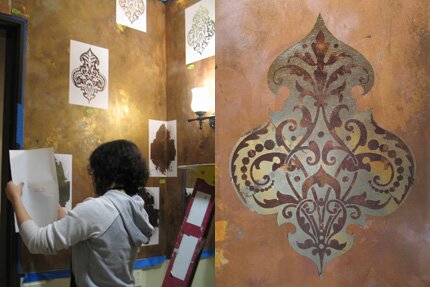
The second layer of Modellos is applied right over the first to make it easy to line up, sized again and more leaf applied in a contrasting color. This final design design on the right shows a Moonbeam and Twilight combo. It’s kind of unusual that the first layer of leaf actually blushes through the second a bit. I’ll be toning and sealing with a thin layer of Rich Brown Stain and Seal and then need to figure out something wonderful for the bottom half of the wall to cover up the horrid looking laminate.
November 15th, 2007
Marquetry Madness
OK, I’ll admit it. I am totally and irretrievably obsessed with repetitive patterns: How to translate them onto different surfaces, how to apply them with different mediums, how to make them work, and how to make all of this profitable for my customers and, yes, me! I WOULD like to retire someday, preferably to a villa/vineyard in central Italy. SO, I started messing around with this simple and brilliantly efficient Modello Marquetry Masking System for applying pattern to wood and other porous surfaces (see the cork below) and think it’s so slick that I’ve filed a patent on the process.
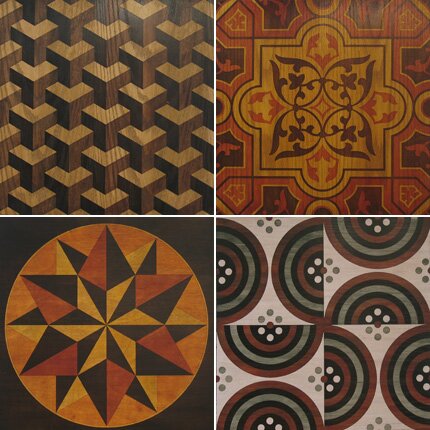
It’s all still a bit “in the works”, like everything else in my life, but I wanted to share these first samples with you. I was in a rush to find wood and get it cut, so settled on Oak plywood (bleech!). The grain of the wood fights with some of the patterns but you get the idea.

I’ve had a bunch of unfinished maple flooring laid down at the new building (see what I did at my house here), and some large unfinished birch doors, so will have some really nice surfaces to decorate. Now, to pick out which patterns……
September 14th, 2007
Pretty Petals
I was just quickly playing around with a petal pattern this evening, trying to get something out that’s been rolling around in my head and I’m so tickled I thought I’d quickly share-
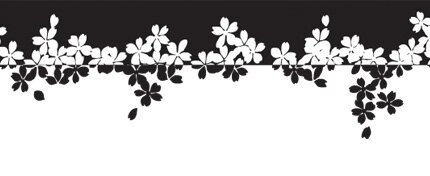
These are the same petal shapes we used in the title bars on this blog, but I layered them up, added a center and trimmed them out in a positive/negative pattern (on the computer). This will get painted in b&w around Lauren’s office ceiling to tie all the black beams together. This is just the beginning of the design for this room. It has lime green maroleum floors (very cool) and is going to be super fun to decorate!
September 12th, 2007
Florence Tile Floor
One of our decorating projects in Florence next month will be to do a large floor area (250 sq. ft) in Alison’s studio with an aged tile treatment that we will accomplish with SkimStone and Modellos. I had shared some of the tile treatments we did in a recent SkimStone class and these four samples build on that idea.
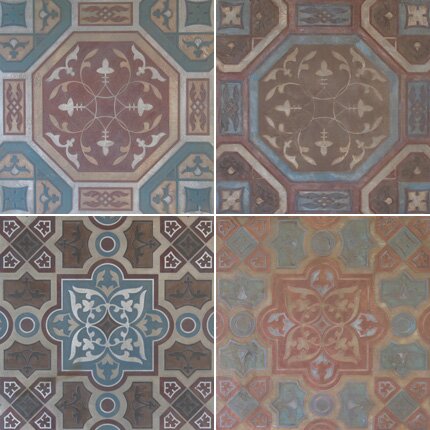
With the exception of altering the blue color slightly these all use the same few colors, but they are layered a little differently. I am always amazed at how many different looks can be achieved with the same pattern, product and colors. The advantage of creating your own “tile” floor, of course, is that you can make it look any way you want. You can’t get that at Home Depot folks!


 Copyright © Designamour