January 4th, 2009
Gardz: Gotta love it
One of the issues that crops up occasionally with people using our Modello Decorative Masking Patterns is that the adhesive vinyl can pull the underlaying paint or finish off with it if the surface underneath wasn’t properly prepared and primed. What often happens in new construction is that the whole place is a dust bin, drywall mud is inherently chalky, and the painters will not properly clean and prime the surface prior to painting. Obviously, a layer of paint is not going to stick very well to a layer of dust! Apply tape or another adhesive backed material to it and pull it off and, well, it’s NOT a pretty picture.
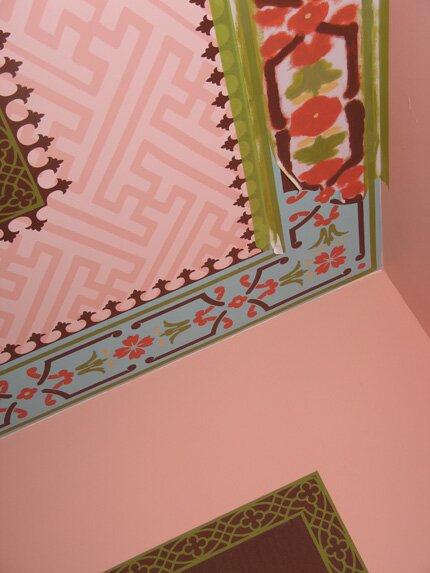
SO-when we were doing the build out on our new space here I needed some “insurance” for all those surfaces I knew I was going to be adding pattern with Modellos. Fortunately, I discovered Gardz-an amazing clear emulsion that virtually locks down the drywall and joint compound surfaces prior to painting. Using this makes your surface almost bulletproof. Case in point? My poor, neglected office that I sit in everyday and wish for a wish that would let me snap my fingers and make it done-like “poof”!
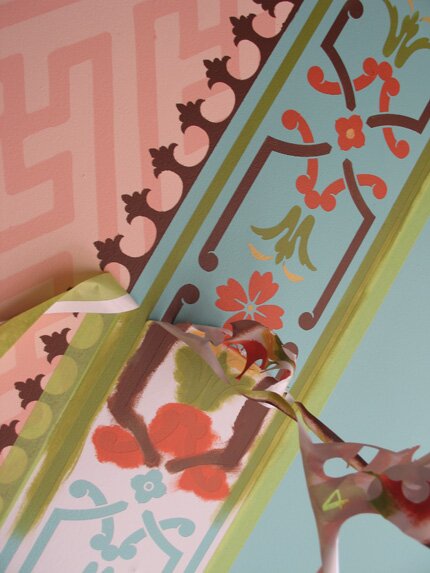
I put these Modello patterns up 9 month ago. Yes, it’s a very pathetic situation that I’ve been staring at this half-done ceiling for 9 mos., but also a great science experiment. You can see from these photos that the Modello pattern is pulling off NOTHING as it’s removed. Seriously, this is nothing short of amazing. The green tape has turned super sticky and the white vinyl is so old it’s almost cracking, but the paint surface underneath?? It’s perfect!
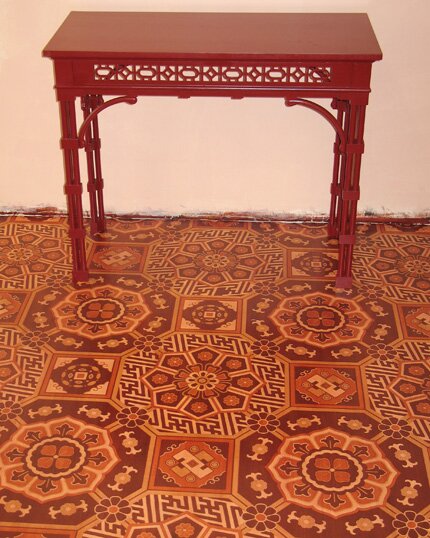
This is the room that has the above patterned floor I showed you here. I know what your thinking: All that pattern and all those bright colors must look Gawd awful. I swear it doesn’t-and I’ll prove it to you if and when I EVER finish this room.
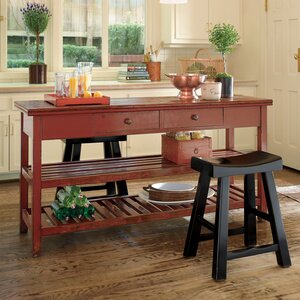
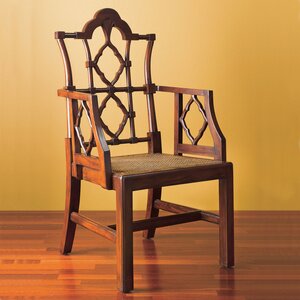
I have some added inspiration now that I’ve just ordered some additional furniture for it from my favorite catalog source-Gumps. This red kitchen island (for a storage piece) and two of these chairs (for important “executive” meetings)-both in the same red as the little accent table above, are all I need to kick by butt in gear to get this room done. I hope.
January 2nd, 2009
Last Call for Marrakech
First and foremost-HAPPY NEW YEAR! I hope that the coming year brings you peace, some prosperity, and many opportunities to explore and expand your creativity. If any one of your resolutions involves more adventurous travel, here is an opportunity for you:
We are returning to Marrakech to continue the painting projects at Peacock Pavilions in two weeks. YES! Two weeks. We have a lovely new group of ten going, but there is room to squeeze in one more Peacock Painter. We will be applying stenciled pattern to floors, a mural wall, chairs and stairs. The projects have a low degree of difficulty and a high degree of interesting applications and interpretations. The two floor projects are for the rooms of Maryam’s lovely children, Tristan and Skylar.
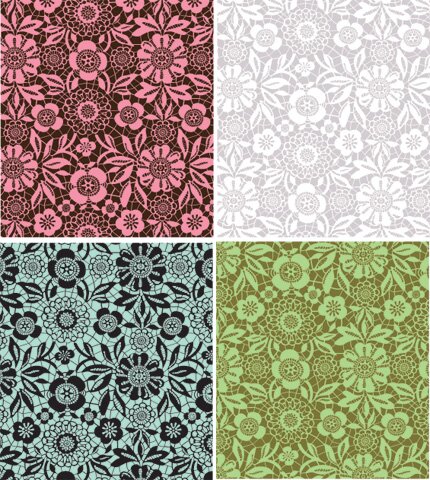
Skylar will soon be padding around on a lovely cream and gray, large-scaled, lace floor. This will be a new stencil for Royal Design Studio and I had some fun imagining different color combinations for it!
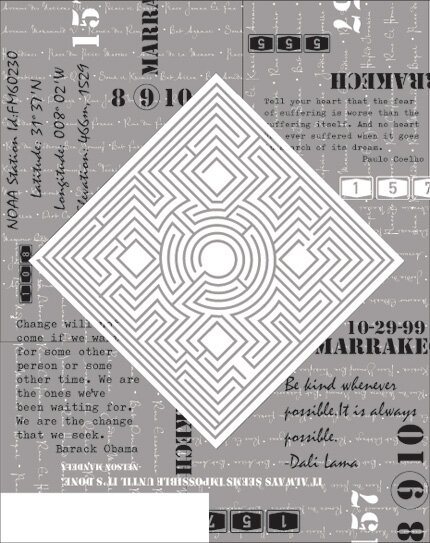
Tristan will be trodding on an equally interesting floor; this one featuring layers of typography (surrounding a maze pattern )that highlight important life lessons, lucky numbers and Marrakech geography.
We are all getting very excited about the trip. This will be my 3rd trip to Marrakech in the last year (lucky, lucky me!) and the first for the rest of the group. This will not be an all work/no play trip (heaven forbid!). We are going to dine deliciously, shop for vintage Berber carpets (among many other things!), tour amazing architectural treasures, go quading in the desert and learn how to cook like a Moroccan. Are you jealous?? Would you like NOT to be?? Info on the trip is here. We are all on the same flight from JFK to Marrakech and the airfare has dropped to under $1,000. Tempting, isn’t it??
December 24th, 2008
Merry Christmas to all
…..and to all a good day filled with presents (not too many-got to get the credit cards paid off), great food (not too much-got to watch the waistline), good drink (watch it!-got to drive) and family fun (insert your own family experience here-hopefully a good one!)
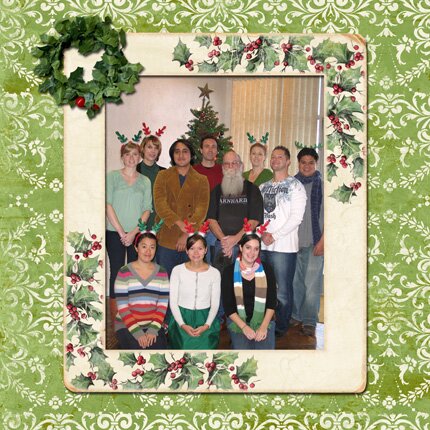
From the very merry team at Modello Designs and Royal Design Studio: Left to right/top to bottom Melanie, Eric, Heidi, Jerome, Lauren, Tony, Maynard, Jim, Theresa, Michelle and Natalie.
P.S. Thanks to my friend Karen for making us into a lovely Christmas card. Check out her brand new blog here.
December 15th, 2008
Pattern as Texture
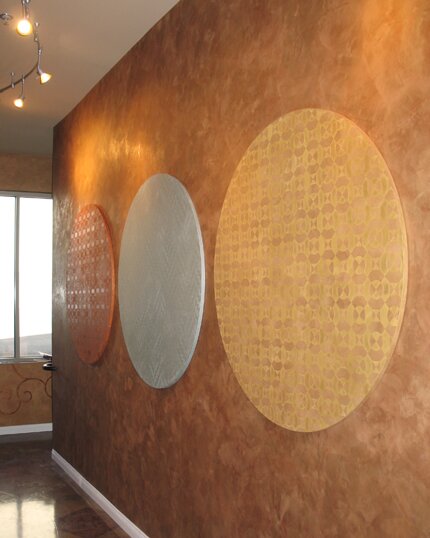
Or maybe it’s texture as pattern?? Regardless, I’m loving these subtle, tactile circles I created recently for our OTHER long hallway (see below)! I had Gatorfoam cut into 4′ circles. Gatorfoam is really dense styrofoam that has a heavy paper coating on both sides. It is used alot for signage and display as it doesn’t warp, can be easily cut, and is super lightweight. I wanted to bring some circular shapes into this very linear space while also maintaining our logo colors as this is right off our main lobby.
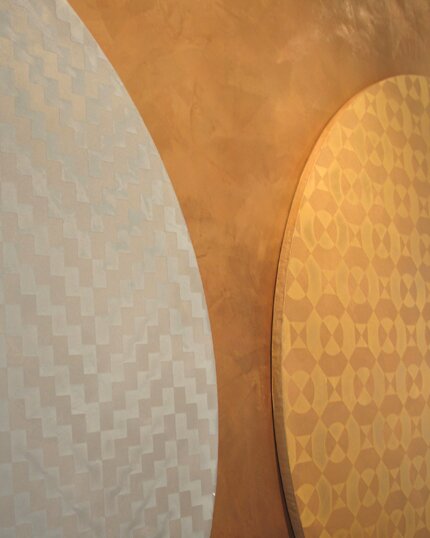
The patterns I chose are from our Modern Allover collection (ModAll 102, 103, 121), and to keep it subtle I used just slightly lighter/darker custom mixed shades of metallic plasters.
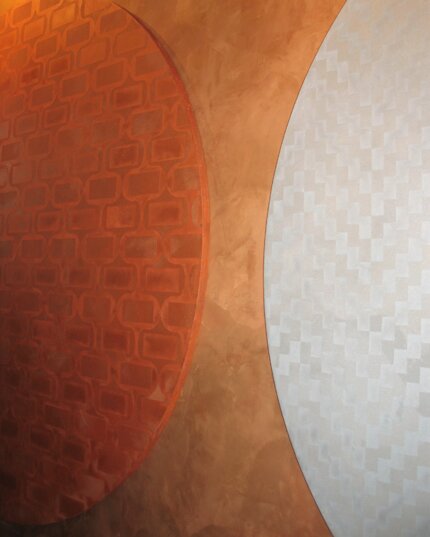
You could use a similar idea just directly on the wall as well by first laying down a Modello pattern in a large circular shape and applying the plaster directly to the wall through it. Leave that in place while you lay down the allover pattern over it and trowel in another color. Remove both patterns at once and, viola, subtle patterned circles-or diamonds, or flowers, or butterflies, or whatever silhouette shape you choose.
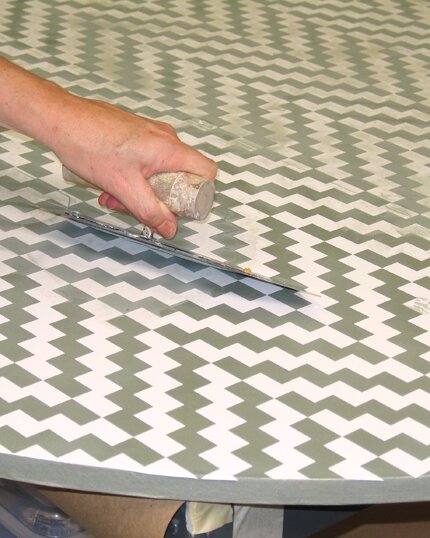
This photo shows that second color being applied through the pattern over the first basecoat. This could also be a cool idea done in stripes but would be most awesome done over a whole focal point wall, don’t you think?
December 3rd, 2008
Pattern and More Pattern and…
We have a looooong hallway that connects the two businesses, Royal Design Studio and Modello Designs in our new building. Well, actually it is NOT THAT new. We’ve been here a year already. It just SEEMS new because there are still quite a few unfinished areas. My primary decorating goals for the spaces here are 1) to experiment and introduce new ideas for painting and applying pattern, and 2) to showcase as many different of our patterns as possible without driving everyone crazy! So far, I think it’s working. One trick to using a lot of different patterns together is to stick to a very limited color palette. I DO love incorporating black-and combining it with off white creates a nice, clean graphic look. When I originally designed the hallway space, I had the contractor install drywall beams so that I could feature multiple patterns in the separate spaces.
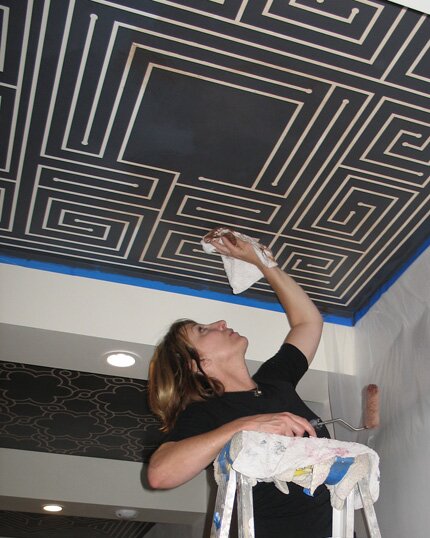
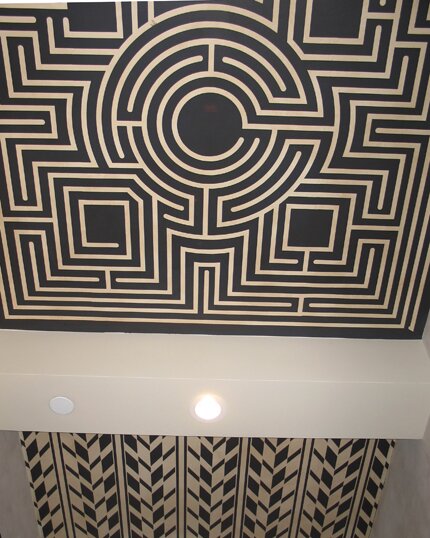
I decided to use some of our new labyrinth designs in every other space. I love the graphic quality of these designs and the way they just draw you in to them. The Modello patterns were painted in a soft black over an off white background. Then, to tie the colors together and soften the look they were treated to a toning glaze of soft brown.
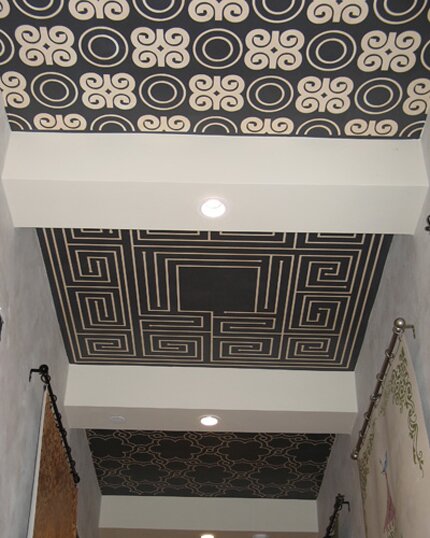
I also incorporated some African and Islamic patterns (IndAll 100 and OrnAll 110), which also have a lovely simple graphic quality that looks very clean and modern in this color scheme.
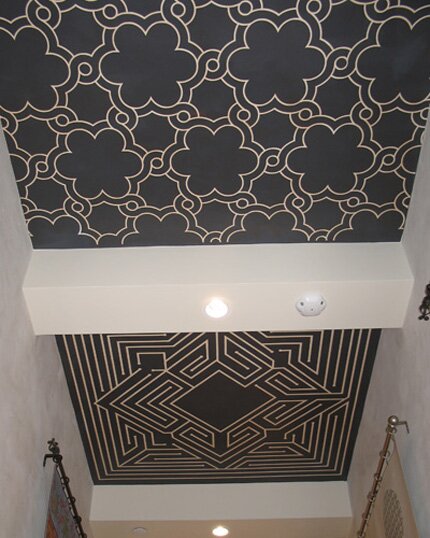
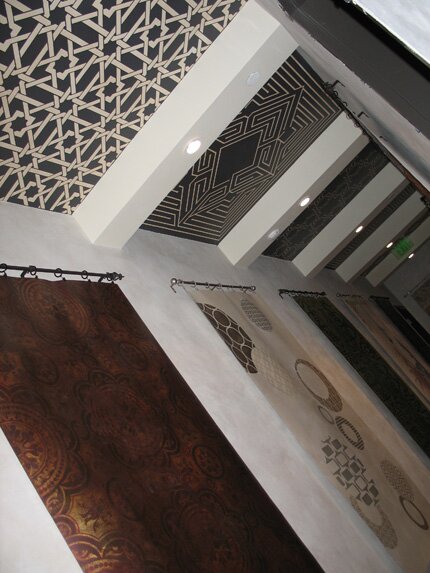
I wanted to keep the ceiling neutral because I have hung a series of canvases that feature some recent decorative finishes that I have created. These were previously featured in posts here, here and here. You may also recognize that gorgeous camel bone weave pattern from the ceiling we did on our last trip to Peacock Pavilions with Maryam in Marrakech. I just HAD to have a little slice of that here. I will be taking a second group of merry painters back there next month. Next month?!
November 17th, 2008
Oak Cabinet Upgrade
When I first moved into my new studio I had the very cheapest, in-the-box, oak cabinets from Lowe’s installed for our “kitchen” (basically where we make coffee and occasionally microwave). The reasons for going el cheapo were twofold: lack of money (the main reason) and knowledge that I could also turn the ugly ducklings into a swans when time and desire came together. They finally did! I forgot to take a “before” shot, but just imagine plain, nondescript oak cabinets over which I stria’d 2 layers of Van Dyke Brown Stain and Seal .I wanted to do something more decorative on them with mirrors-my new favorite medium.
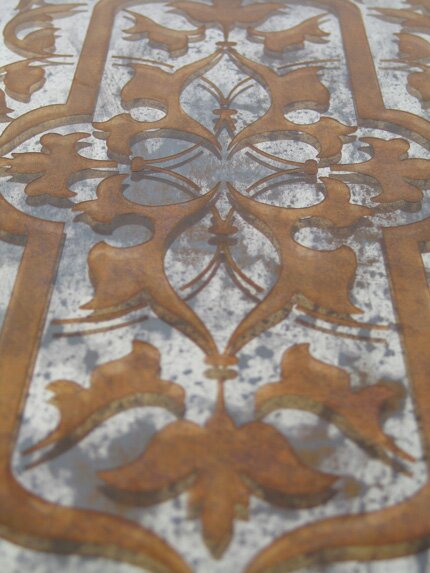
I had 1/4″ mirrors with beveled edges made to the exact size of the raised panels in the centers of the upper cabinets. The silvering on these was distressed using the Antique Mirror Patina Solution.
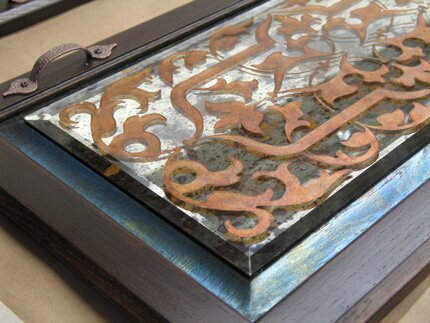
On the front, I decided to use Metallic Foils (another new fav!), and subtly applied 4 different colors, followed by a layer of antiquing stain. I love how the design reflects off the back of the mirror, adding a lot more depth and dimension.
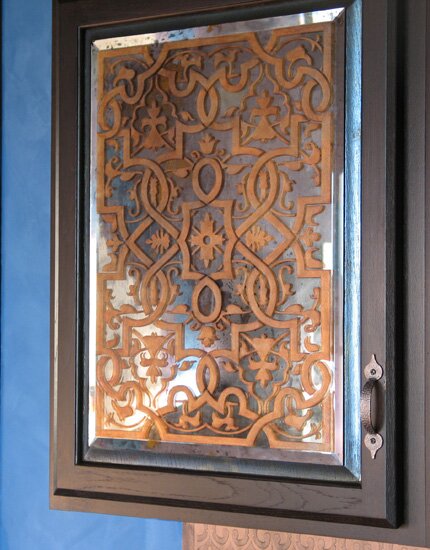
The mirrors were attached using a combo of double-sided foam tape and lots of mastic. So far it seems to be holding…..Notice how the blue Metallic Foil around the edge picks up the wall color!
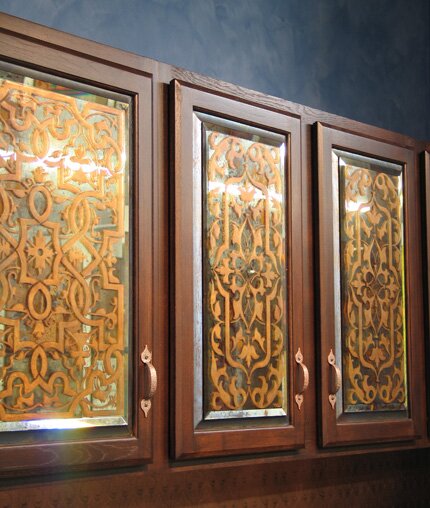
Another view (these are HARD to photograph well). The handles were a Home Depot score at $1.06 each!
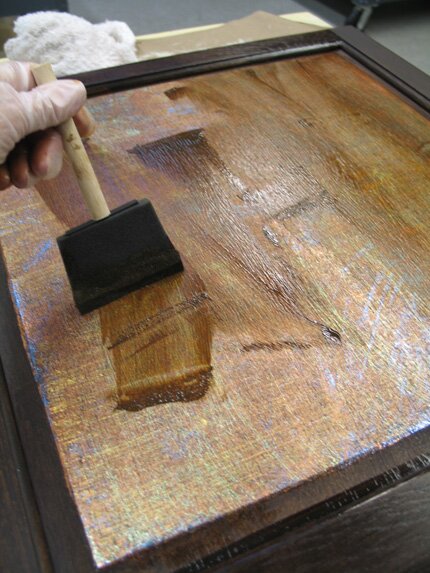
The lower cabinet doors were treated to the same Metallic Foil colors as the mirror finish and stained as well. I transferred the foil colors using a scrub brush with varying horizontal and vertical strokes to get the woven fabric look.
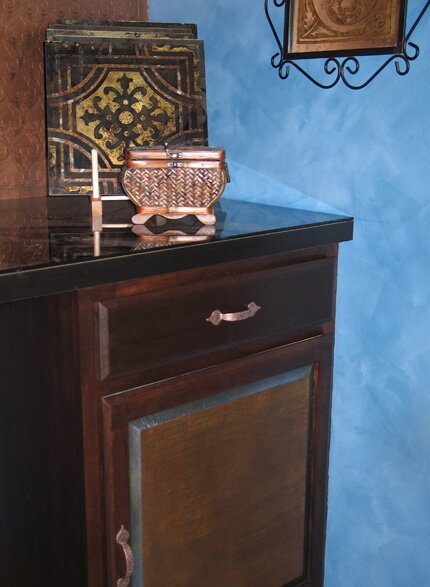
You can’t see the countertop from this view, but it is beautiful reverse gilded glass with a Moroccan zelij pattenr and I showed it in this post. If you are interested, there are lots more mirror posts here. For my next magic mirror trick I’ll be attempting to conjure up an amazing look for a 54″ round mirror table top on a rustic iron base. Keep your fingers crossed! I don’t NEED any bad luck.
November 11th, 2008
Paint it black
So, the latest issue of Domino features no less than 3 different houses that boast rooms with black painted walls. I am a total fan of black for both dressing and decorating and can be found wearing it, oh, 90% of the time. I love it! It’s classic and timeless (as well as slimming). To do it on four walls, though, I think you really have to know how to pull it off with furniture and accessories that keep it from feeling depressing and Goth-like. One sure way to soften and “pretty” the look of a black wall is to add stenciled pattern. OF COURSE I’m biased, but just look at these lovely wall photos sent by Rachael Goddard of Paint/Design/Decor/Inc.
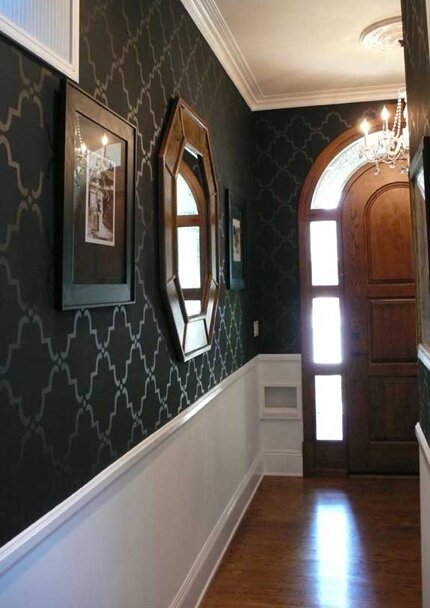
The Moorish Trellis in a hallway.
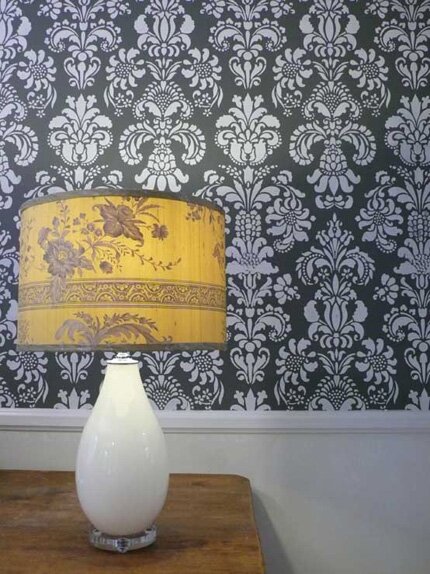
The Delicate Floral Damask. How cool is that lampshade??
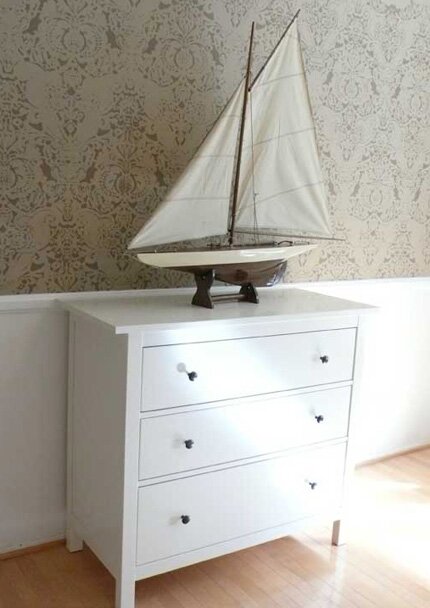
Yes, I know. This one isn’t black, but the Fortuny stencil sure looks pretty here ![]() Thanks for sharing Rachael!
Thanks for sharing Rachael!
November 3rd, 2008
Waiting. Hoping.

After watching and reading literally weeks of hours of political commentary, I have never heard anyone in the self absorbed American media discuss how the rest of the world views our choices this Tuesday. I found this article very interesting! One more day……
Update: YEAH!!!!!!!!!!!
October 31st, 2008
Happy Halloween!
From the gang at Royal Design Studio and Modello Designs.

Jerome (Ladie’s Man), Jim (Miss Jim), Theresa (Saucy Piratess), Maniac Maynard (Santa’s Bad Brother. Very Bad), Me (Just another bad hair day. OK, Bride of Frankenstein), Michelle (Wednesday), Eric (Nascar Mechanic), Natalie (Anonymous Ipod Dancer), and Tony (1970′s Vulcan DJ)
October 27th, 2008
The Color Purple
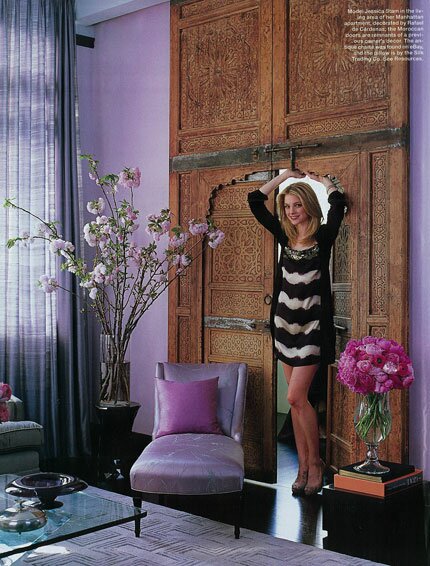
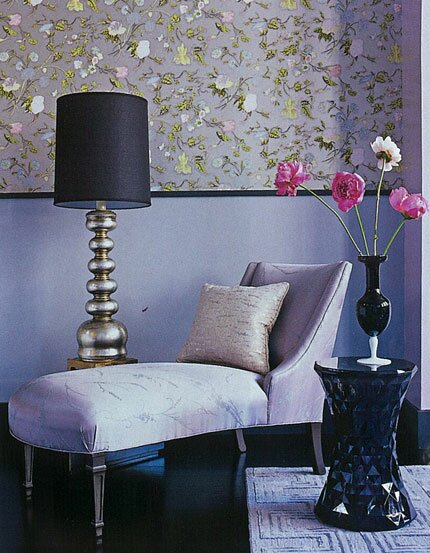
Have you noticed? Shades of lavender popping up everywhere, from soft sweaters at Banana Republic (ask me how I know this!) to these recent pages of Elle Decor and House Beautiful.
Love it with the Moroccan door!
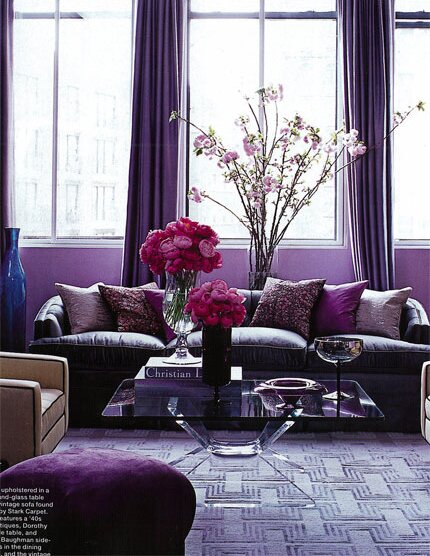
This photo below is my favorite. LOVE the wallpaper and touches of black.
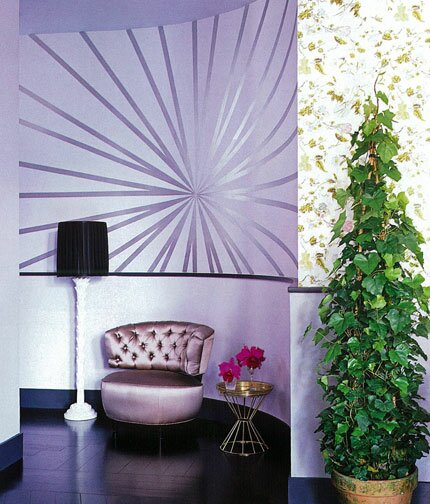
How cool is this curved wall? A similar effect can easily be created with tape and metallic paint. Imagine the possibilities for all different types of geometric patterns?!
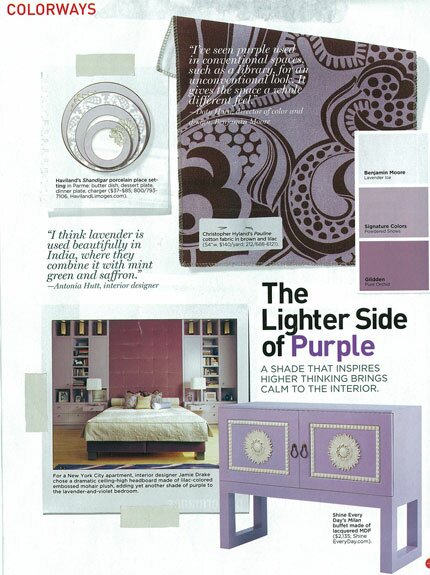
I’ve had this page tacked onto one of my studio walls for months now.
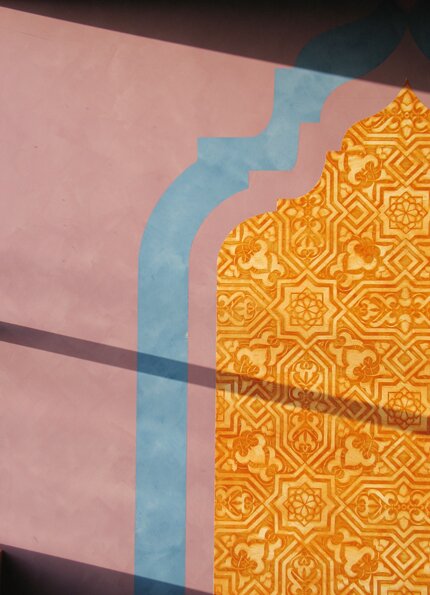
It inspired my purple lime paint studio wall that now is adorned with Moroccan arches filled with bright pattern! Here, I used EasAll123.







 Copyright © Designamour