August 14th, 2009
Modello Ceiling: Its a Process
I enjoy showing a lot of pretty final photos of work that our customers do with our Modello Decorative Masking patterns on this blog. You know, TA DA !! You may be wondering, though, “how do they DO that?” The short answer is, “it’s a process”. Recently, Pat Ganino of Creative Evolution chronicalled that process of doing a rather complex custom ceiling decoration on his fabulous message board in this Faux Forum message thread.
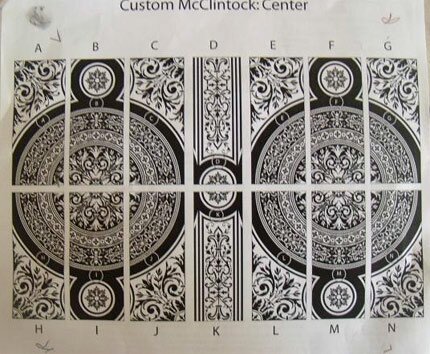
What you see above is the pattern “key” that outlines how the individual tiles of cut Modello masking pattern stencils are designed to fit together to cover a LARGE ceiling area. This particular design incorporates many different patterns that were laid out in a customized manner to fit perfectly in the space, and accomodate architectural features that were already in place.
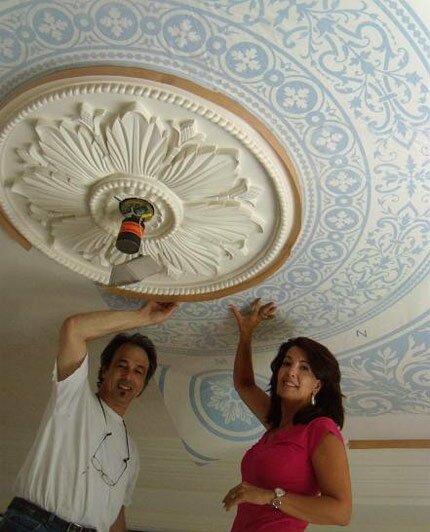
To assist with this large project, Pat called in Modello grand ceiling expert, Gina Wolfrum. I’ve posted here before about Gina’s fabulous ceilings, and Gina was one of the featured artists in our Modello by Design book. Gina worked with Marc Potocsky to get the pattern pieces installed and lined up perfectly. This is actually the hardest part!
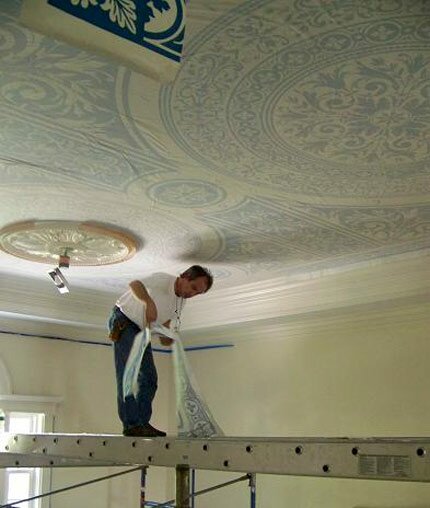
Does this picture make YOU as nervous as it does me??? You can see most of the pattern in place here. The blue material used for this project is our lowest-tack material, and many artists prefer to use this on ceilings as there is less chance for surface damage when removing it later. You see, many times in new construction there are underlying surface issues due to improper prep and priming over dusty drywall. This issue is discussed under Surface Issues on our FAQ page, and sealing with Gardz is another good option.
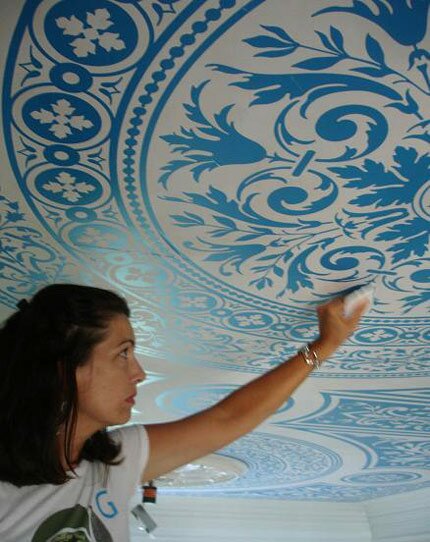
After removing the transfer tape that holds all the pattern pieces together until they are transferred securely to the surface, Gina gives it all another hard burnish….
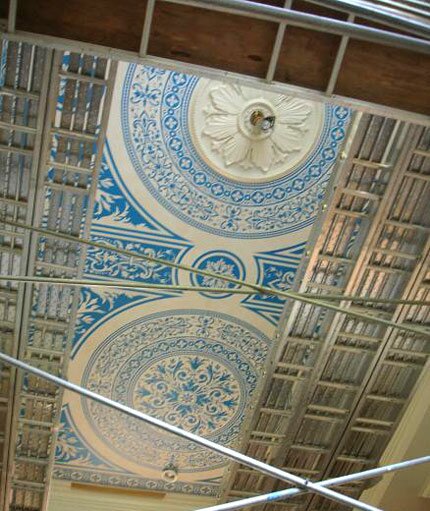
…and it’s ready for the fun part-decoration. Because they were using paint for the pattern decoration in this particular project, they also took the extra step to “seal” the pattern by rolling over it with a clear medium. Clear Setcoat from Faux Effects is good for this, but any water-based topcoat will do. This seals the edges of the pattern on the surface, ensuring that the paint to come will not find a way to seep under, and allows for a very clean final print of the design.
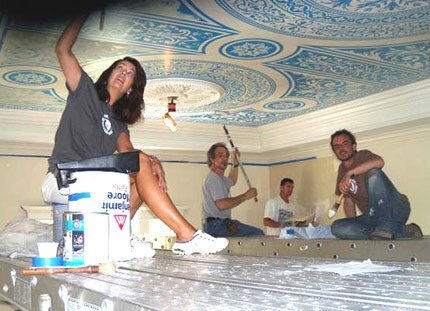
Different colors of paint were applied to different areas of the pattern…
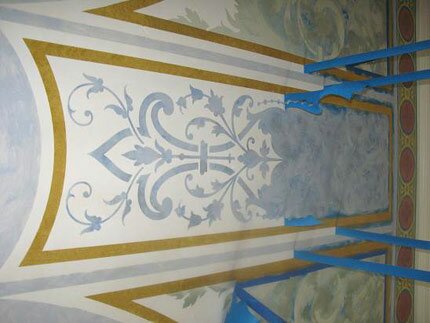
…and gold, metallic accent to the banding. Once dry, the pattern is removed…
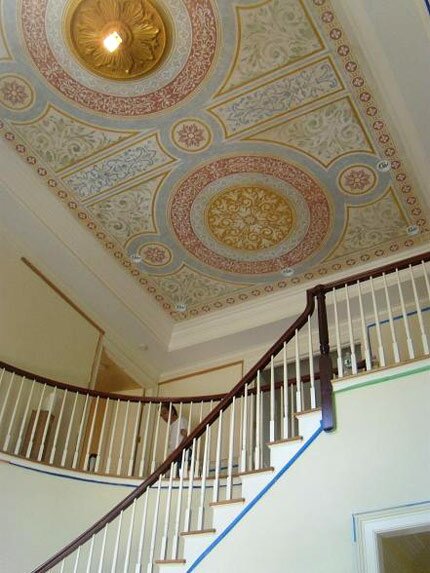
…and in the matter of a few days a grand, ornate ceiling design is revealed! I so appreciate Pat, Marc, and Gina sharing this with us!! All photos courtesy of The Faux Forum, a great source of information and inspiration-by and for decorative artists from all over the world.
FYI, Pat is now vlogging about his next BIG project-painting two twelve story buildings in Brookly, NY in 60 days.


 Copyright © Designamour
August 14th, 2009 at 5:06 pm
Melanie – thanks for the kind words! Without the use of your Modello masking stencils, this ceiling would have been impossible! The great thing about your Modellos is that this design was fitted perfectly around a 41″ medallion that was 2″ off center.
Fun project, ready for another.
August 15th, 2009 at 12:02 am
This is absolutely incredible! Beautiful job and only a “few” days!!?
Now Melanie..you have to show us a step by step on how those huge Modellos are actually made from concept to application!! I’d like to know!
August 15th, 2009 at 12:04 am
This is just fantastic..and only a “few” days!!?? Now, Melanie it would be fun to see how these huge Modellos are made from concept to application!
August 15th, 2009 at 11:10 am
Looks beautiful – love the power of teamwork! I don’t mind heights but it’s looks like a really narrow space to stand in, so yes, that would make me nervous. Very cool post!
August 15th, 2009 at 1:20 pm
Wow — you’re right, I’ve always kinda wondered about the process. Thanks for sharing! Gina, Pat, and Marc — great job!
August 15th, 2009 at 5:56 pm
love the colors!! sometimes that’s the hardest part! gotta lov modellos! for making the rest breezy
August 21st, 2009 at 7:13 am
Incredible. I have had Gina do a couple projects for our home and Company.
Gina is such a delight to work with as her talent is amazing.
August 21st, 2009 at 7:51 am
Lucky you, Nancy!
August 21st, 2009 at 1:25 pm
Would love to see this from the actual floor, it looks incredible in a picture!
Ann E. V.
August 25th, 2009 at 6:33 am
I know I’ve commented on this before but I find the whole process so photogenic. I really enjoy Modello transformation stories. Brilliant work..and yes the ladder picture makes me nervous too.
September 3rd, 2009 at 8:52 am
Wow, very cool!
Bill Mitzel
January 15th, 2010 at 11:54 am
hamidi arabesque sur http://www.flickr.com