August 4th, 2009
Fresh Stencil Project: Flower Patch
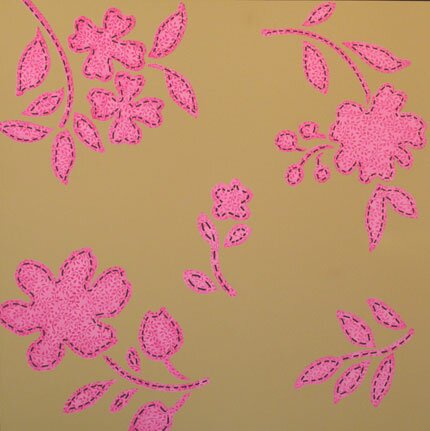
I thought I’d share a fun and easy stencil project that I worked up with one of our latest stencil designs, the Large Flower Patch, from Royal Design Studio. It combines both roller stenciling and brush stenciling, and features my favorite wall paint-Aura from Benjamin Moore. I like to use the Aura Paint for stenciling in projects where I am looking for 100% opaque coverage. Not only does it cover beautifully, it dries FAST so you can do additional layers if need be very quickly. You need to get it mixed up in a minimum quart size, so it doesn’t make sense for small projects, obviously, but if you are doing some color blocking in your room, you can use the extra for stenciling. For instance, the pink color could go below a chairrail, in stripes, or even on the ceiling if you’re THAT daring! The basecoat here is Tumeric and the pink color is Springtime Bloom. Aura paints come in their own special color range but you can have any color mixed in the Aura base from the Benjamin Moore color deck.
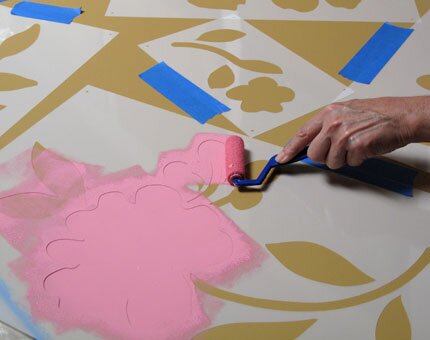
The Flower Patch stencil set consists of 5 different motifs. Each one comes in two layers: the large silhouette shape and the stitching detail. I started by laying out the silhouettes randomly in a pleasing arrangement. Note that this was done for a sample display board. On an actually wall or furniture project I would generally have them space further apart! I used a small, short-nap roller to roll on two coats of the Springtime Bloom. The paint dries very quickly, as I said, and I was able to do all five motifs, wait a few minutes and then go back to cover more fully with a second coat. In order to keep the paint from running under the stencil, I “offloaded” the roller a bit by rolling it over some paper towels before hitting the stencil. I also took care not to presss REALLY hard with the roller.
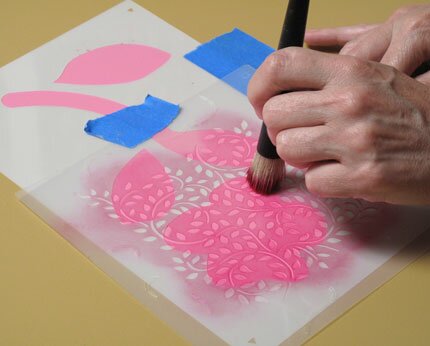
I cleaned this paint off the silhouettes and replaced them in their original position before continuing. I detest using dirty stencils and cleaning them up right away makes the job SO MUCH easier. Click here for stencil cleaning tips from our Facebook page. With the silhouettes back in place I used our darling little Lacy Leaves stencil to stencil an allover pattern through the motifs, creating the look of fabric “patches”. For this, I used a dry brush stencil method with magenta colored acrylic paint.
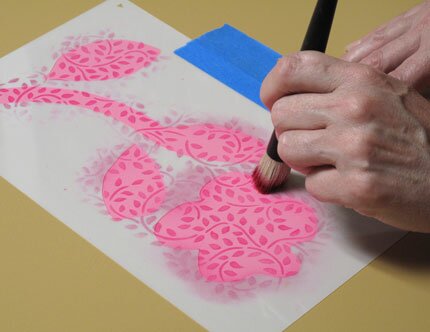
I then used the same magenta paint to swirl a little color just at the edges of the silhouette shapes to give them some more definition. I didn’t try to shade these too much though, as I didn’t want them to look “puffy”!
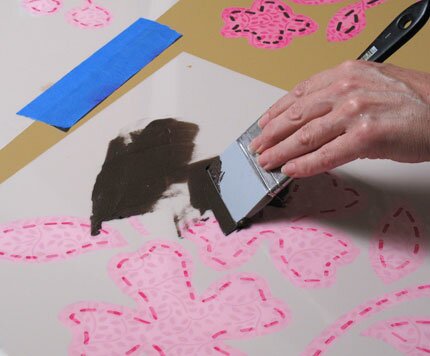
For the stitching detail, you could use a dark brown or black paint to stencil, but I wanted to give the stitches a little dimension so used a dark brown plaster (Espresso Lusterstone) applied with a Colour Shaper tool. You could alternatively use a synthetic Venetian-type plaster for an embossed effect.
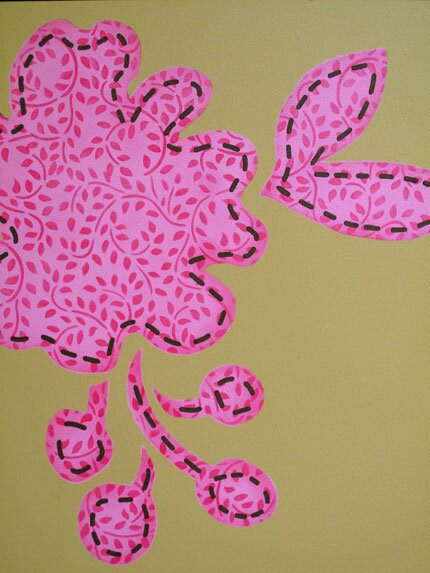
Here’s a detail. I think that this would be so adorable in a nursery or little girl’s room, and can imagine all sorts of fun color and pattern combinations with this Flower Patch design!


 Copyright © Designamour
August 5th, 2009 at 8:41 pm
This is so sweet.
January 17th, 2011 at 8:14 am
MOST INFORMATIVE SITE FOR ELECTRONICS….
**YOUTUBE VIDEO REVIEWS ON THE HOTTEST ELECTRONICS OUT**…
February 7th, 2011 at 9:48 am
**YOUTUBE VIDEO REVIEWS ON THE HOTTEST ELECTRONICS OUT**…
#1 SITE FOR THE LATEST REVIEWS ON THE HOTTEST TECHNOLOGY HITTING THE MAINSTREAM!…