April 27th, 2011
Dreamy Stencil Cremes
Well, I’ve finally gone and done it. For the first time in my long and stencil-y life I have my very own vanity signature line of stencil paint: Royal Stencil Cremes. Available now for your stenciling pleasure in 10 deliciously shiny and sassy metallic colors.
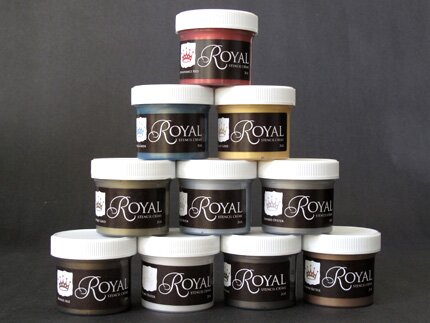
You can read all about how fabulous Royal Stencil Creme paints are for stenciling projects here in this handy “How to Use Royal Stencil Cremes” booklet that my talented creative assistant Lauren and I created for you. Meanwhile, I just wanted to share part of a DIY Stencil project that Lauren was keen to do for her own apartment.
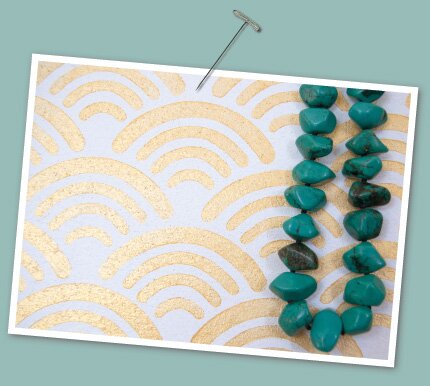
You see, Lauren is a very stylish girl with a fabulous jewelry collection culled from assorted Etsy artisans, and she wanted to create a special space to store them within easy reach.
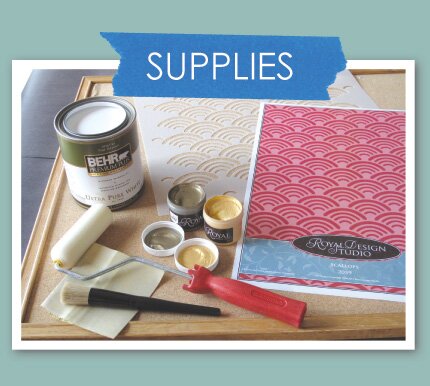
So, we gathered some supplies including a cork board, foam roller, stencil brush, 1″ Blue Painter’s Tape, NEW Royal Stencil Creme colors, and a Japanese Scallops stencil from Royal Design Studio-one of her favorites.
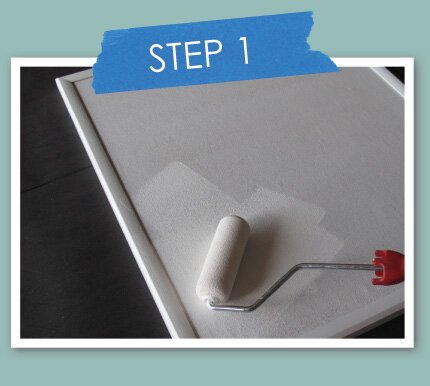
First things first, we got ourselves some good quality paint to basecoat the cork board. I know that some people like to cheap out on paint, but seriously, it’s not worth it! Good paint will cover better, and even out nicely. We got Behr’s Premium Plus paint in Ultra White right off the shelf at Home Depot. Two coats did it.
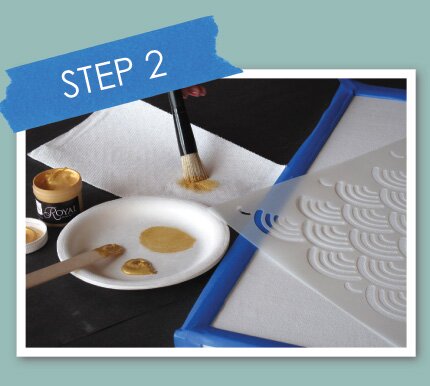
A general rule with stenciling is that “a little paint goes a long way”. With Royal Stencil Cream colors, a little paint goes a REALLY long way. (That’s a good thing) It is very important to use a very “dry” brush to keep excess paint from seeping under the stencil edges. Lauren put just a small amount of Stencil Creme out on a paper or plastic plate and dipped just the tips of the brush into the paint. Then she rubbed a bit on a clean part of the plate and offloaded EVEN MORE paint on a stack of good paper towels. The idea is to make sure the paint is distributed evenly throughout the brush bristles AND make sure that the brush doesn’t have an excessive amount of paint left on it. Trust me, you won’t need it.
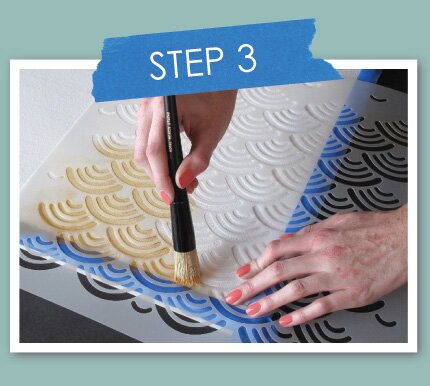
Lauren centered the stencil on the cork board (see detailed instructions) and filled in the open stencil areas. Smart girl that she is, she waited until the brush was a bit dryer before moving to the edges and pushing the stencil into the corners-again avoiding paint “run-unders”. It’s so much funner NOT to have to do touchups. Note: If you EVER see nicely painted finger nails in a photo on here, you will know it’s NOT me!
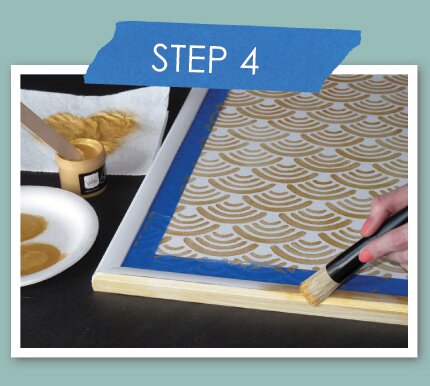
The Royal Stencil Creme colors also work great for regular painting. Two thin coats around the frame (note the protective tape) covered the frame quite nicely. OK, so this was the short and sweet version. For the long, detailed version of this DIY stencil project click here.
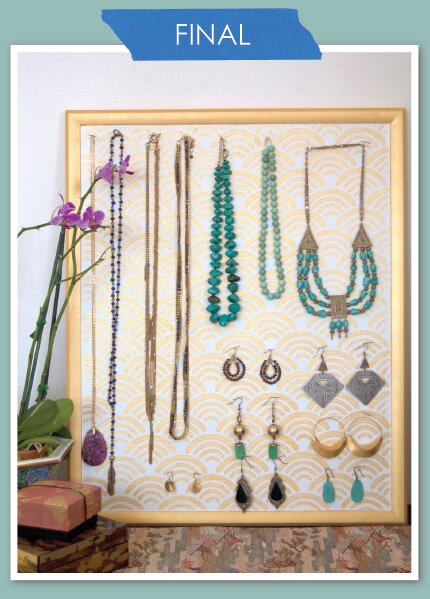
Lauren used T-pins (Office Depot) to hang some of her favorite coordinating jewelry pieces. Yes, I’m jealous. Until she decides where on the wall to permanently hang the board, she just has it leaning up against the wall, which seems perfectly fine too! I was thinking if you have a lot of nice jewelry and plenty of wall space it would be super fun to create a series of boards in different patterns and colors and put together some curated jewelry collections on them. If you are someone who has that jewelry making and selling gene, this would make for some interesting displays!
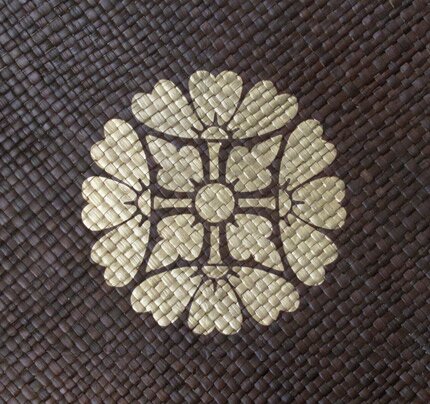
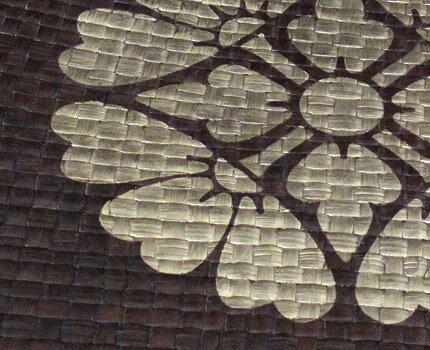
Like I said, you can read all the details about Royal Stencil Creme colors here, but I just wanted to show you how beautiful the Antique Gold color worked on this woven placemat. It pretty much covered in one coat (OK, I DID add a tiny bit more here and there) and you can see how wonderfully crispy and clean the edges are. I am a very crispy and clean kind of girl, so this thrills me. Now, I’ve been doing this for awhile, but seriously, the Stencil Cremes are designed to make stenciling easy for beginners, pros, and everyone in between.
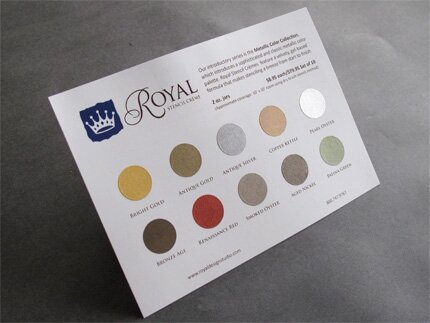
Would you love to be able to see all the colors firsthand? We have a card for that! We will send you a FREE hand painted color card with any Royal Design Studio stencil web order. Just be sure to check the order box on this page or ask for it if you call us.
Here are the handy links again:
Royal Stencil Creme Colors
Introduction to Royal Stencil Cremes
DIY Stencil Project: Jewelry Cork Board


 Copyright © Designamour
April 27th, 2011 at 9:03 am
ordering every color!!!! awesome!!!
April 27th, 2011 at 10:01 am
Need this super quick!
May 1st, 2011 at 3:46 pm
Barb can tell you that I am now often eating my famous words from yesteryear – “I will never stencil a thing.” Have you looked at my orders lately? I can’t seem to stop. (Although, as you know me well, I can be rather not “crisp” when left to experiment.)
Anyway, it was just a matter of time before you created more magic. Yay.
May 3rd, 2011 at 10:27 pm
Can’t believe I never thought about that mat idea — brilliant. I love placemats. I also like the idea for Thank You note card covers (I buy the blank black & white ones and just customize them before I send.) Excited about these products!
May 3rd, 2011 at 10:28 pm
P.S. Forgot to mention — that How-to for Lauren’s project is great!
May 15th, 2011 at 1:11 pm
I was inspired by Alberto Pinto’s stenciled leather walls(pg 102 “Walls”) and just finished a stencil design on distressed leather with your stencil creme. It looks great…now what to make with it, wall art or an embelished bag?!
Now I need all of the colors it is wonderful!
May 15th, 2011 at 1:43 pm
Oh, thank you Thersa! I would LOVE to see a picture of that!! Working on distressed leather sounds divine.